Mastering Product Photography for Your eCommerce Site
In the competitive world of eCommerce, product photography plays a crucial role in attracting customers and driving sales. High-quality images not only showcase your products in the best light but also help reduce returns by setting accurate expectations. This article delves into the art of mastering product photography for your online store, covering essential equipment recommendations, effective lighting techniques, and valuable post-processing tips. Whether you're a beginner or looking to improve your existing skills, these insights will help you create stunning product photos that captivate your audience and boost your eCommerce success. From understanding camera settings to mastering composition and styling, we'll guide you through the process of elevating your product imagery to professional standards.Table of Contents:
Essential Equipment for Product Photography
To create professional-quality product photos, investing in the right equipment is crucial. Start with a good camera - while smartphones can work for beginners, a DSLR or mirrorless camera offers more control and better image quality. A sturdy tripod is essential for sharp, consistent shots. Lighting equipment is equally important; consider soft boxes or LED panels for even, diffused lighting. A white backdrop or lightbox helps create clean, distraction-free images.For close-up shots, a macro lens can capture intricate details. Don't forget about props and styling tools to enhance your product's presentation. Lastly, editing software like Adobe Lightroom or Capture One is invaluable for post-processing. Remember, while good equipment is important, your skills and creativity are what truly make your photos stand out.
Do you need a website? Want to build a website but don't know where to start? Our website builder is the perfect solution. Easy to use, and with the ability to customize to fit your business needs, you can have a professional website in no time.
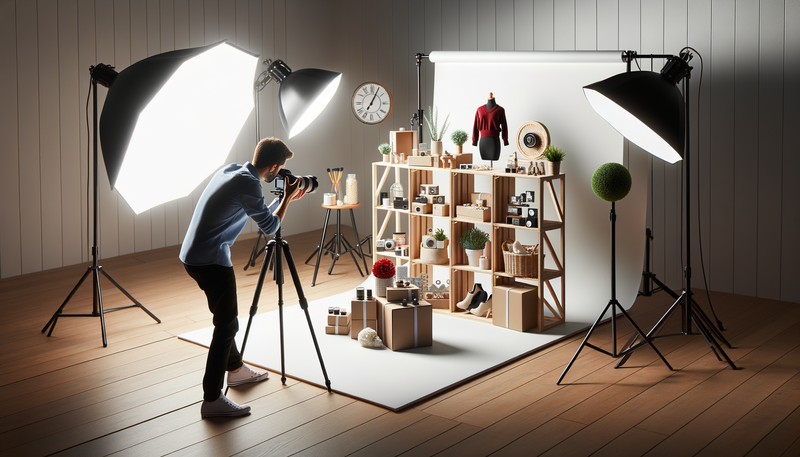
Mastering Lighting Techniques
Lighting is the cornerstone of great product photography. Natural light can be excellent for certain products, but it's not always consistent or available. That's where artificial lighting comes in. The key is to create soft, even lighting that highlights your product's features without harsh shadows.One popular technique is three-point lighting: a key light as the main source, a fill light to soften shadows, and a backlight to separate the product from the background. Experiment with different angles and intensities to find what works best for each product. Diffusers and reflectors can help soften light and fill in shadows. For reflective products like jewelry or glassware, consider using a light tent to minimize unwanted reflections. Remember, the goal is to create lighting that looks natural and showcases your product in the most appealing way possible.
Composition and Styling Tips
The way you compose and style your product photos can significantly impact their effectiveness. Start by choosing an appropriate background - usually, a simple white or neutral backdrop works best to keep the focus on the product. However, contextual shots showing the product in use can also be powerful.Pay attention to the rule of thirds when framing your shots, and experiment with different angles to find the most flattering view of your product. For lifestyle shots, carefully select props that complement rather than distract from the main subject. Consider creating a consistent style across your product images to build a cohesive brand aesthetic. Don't forget about negative space - it can help your product stand out and create a clean, professional look. Lastly, ensure your product is clean and well-presented before shooting. Small details matter in close-up photography.
Building a website with SITE123 is easy
Camera Settings for Crisp, Clear Images
Understanding and optimizing your camera settings is crucial for achieving sharp, well-exposed product photos. Start with a low ISO (ideally 100-400) to minimize noise in your images. Set your aperture (f-stop) between f/8 and f/11 for product photography to ensure a good depth of field and overall sharpness.Your shutter speed will depend on your lighting setup - with a tripod, you can use slower shutter speeds without worrying about camera shake. Use your camera's manual mode for complete control over these settings. For white balance, either set it manually or use a gray card for accuracy. Shoot in RAW format if possible, as it gives you more flexibility in post-processing. Don't forget about focus - for products, manual focus often works best to ensure the key elements are tack-sharp. Experiment with these settings to find the perfect combination for your specific products and setup.
Post-Processing Techniques for Polished Results
Post-processing is where good photos become great. Start by adjusting the basics: exposure, contrast, and white balance. Crop your images if necessary to improve composition. Use the healing tool to remove any dust spots or imperfections. Adjust clarity and sharpness to make your product details pop, but be careful not to overdo it.Color correction is crucial - ensure your product colors are accurate and consistent across all images. For white backgrounds, use the levels or curves tool to achieve a clean, pure white without losing detail in your product. Consider subtle vignetting to draw attention to the center of the image. If you're shooting reflective products, you may need to do some retouching to remove unwanted reflections. Remember, the goal is to enhance the image while keeping it natural and true to the product. Batch processing can be a time-saver if you have multiple similar images to edit.
Creating Consistency Across Your Product Line
Consistency in your product photography is key to creating a professional, cohesive look for your eCommerce site. Start by developing a style guide for your product images. This should include guidelines for lighting, composition, background, and editing style. Stick to a consistent image ratio across your products - typically square or 1:1 for most eCommerce platforms.Use the same or similar backgrounds for all products within a category. If you're using props or lifestyle shots, ensure they align with your brand aesthetic. In post-processing, apply similar adjustments to all your images to maintain a unified look. Consider creating templates in your editing software to streamline this process. Remember, while consistency is important, don't be afraid to highlight unique features of individual products when necessary. The goal is to create a harmonious overall look that enhances your brand identity and makes your eCommerce site visually appealing and easy to navigate.