List the prices for services offered on your website.
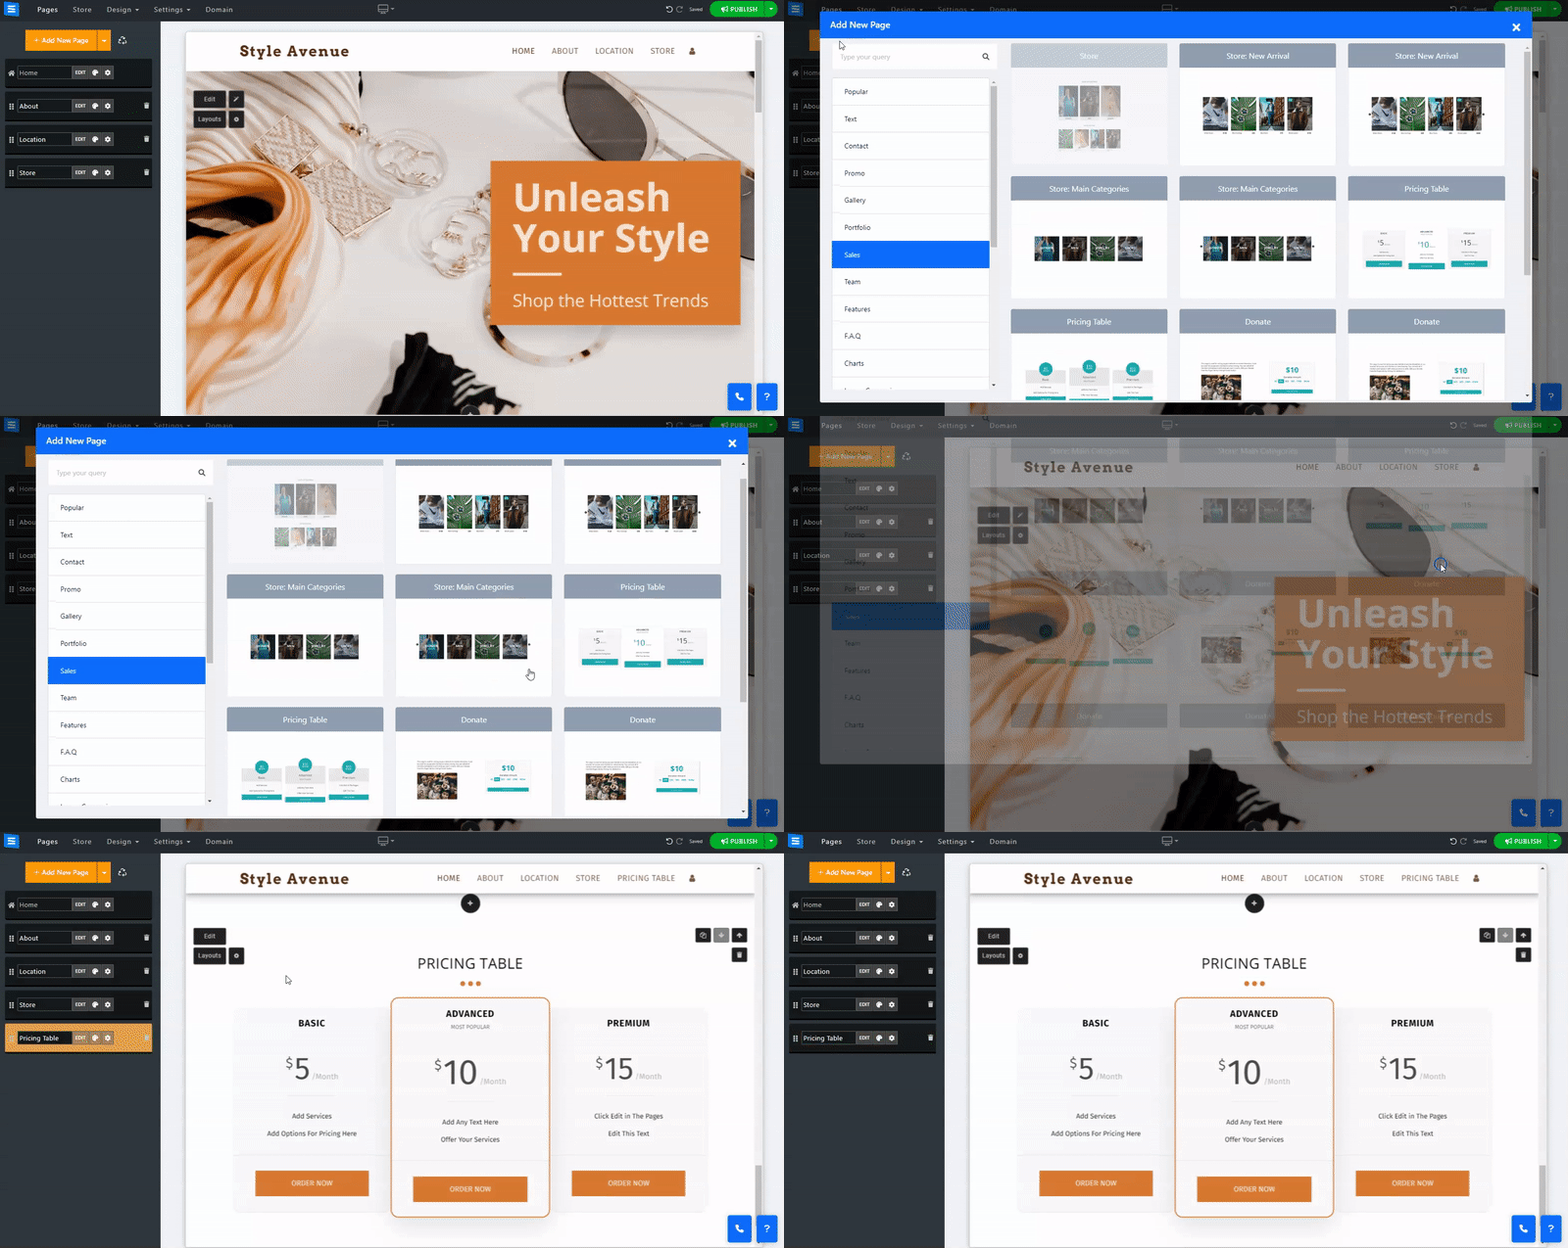
To add the pricing table page:
In the Website Editor, click Pages.
Find the Pricing Table page in the current page list, or Add It as a New Page.
Edit the page Title and Slogan. Read more about Adding a Slogan.

In this section, you will learn how to Add, remove, and manage the items on your Pricing Table page.
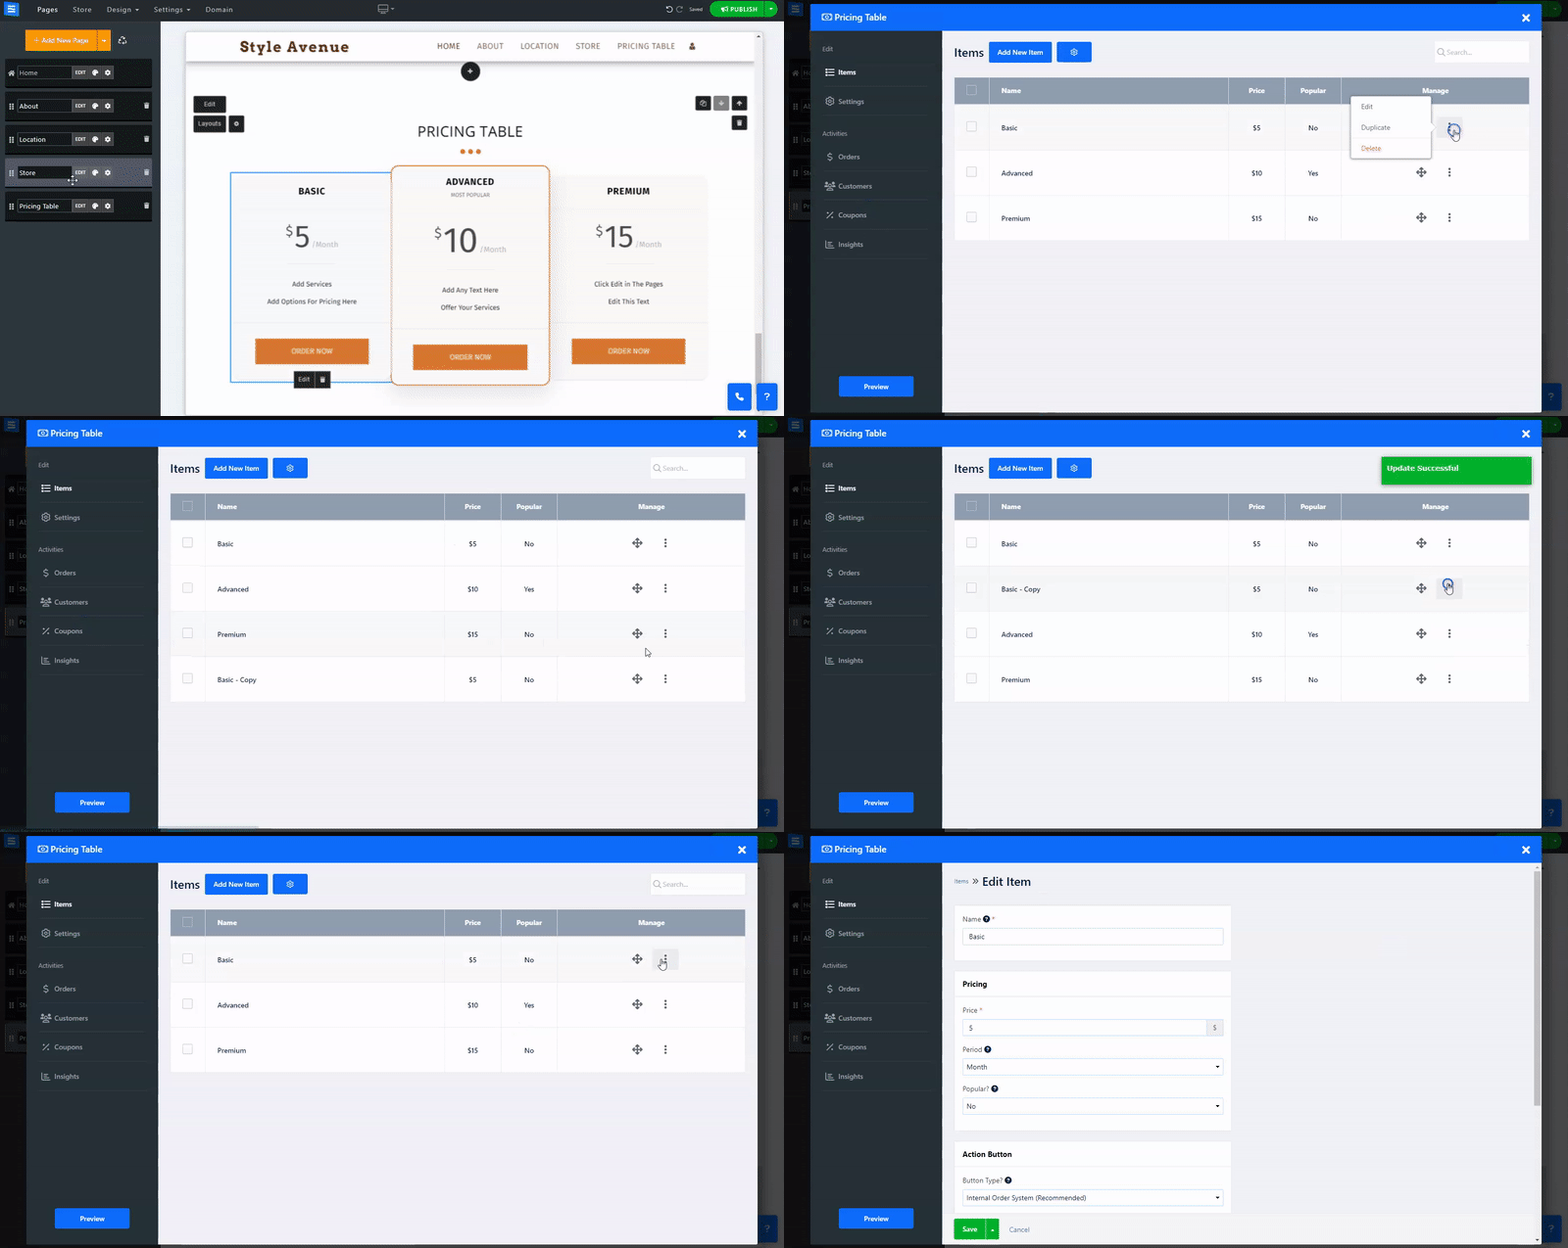
Click the Edit button.
Click the Arrows icon and drag to reposition an item in the list.
Click the Three dots icon to Edit, Duplicate, Preview, or Delete an item.

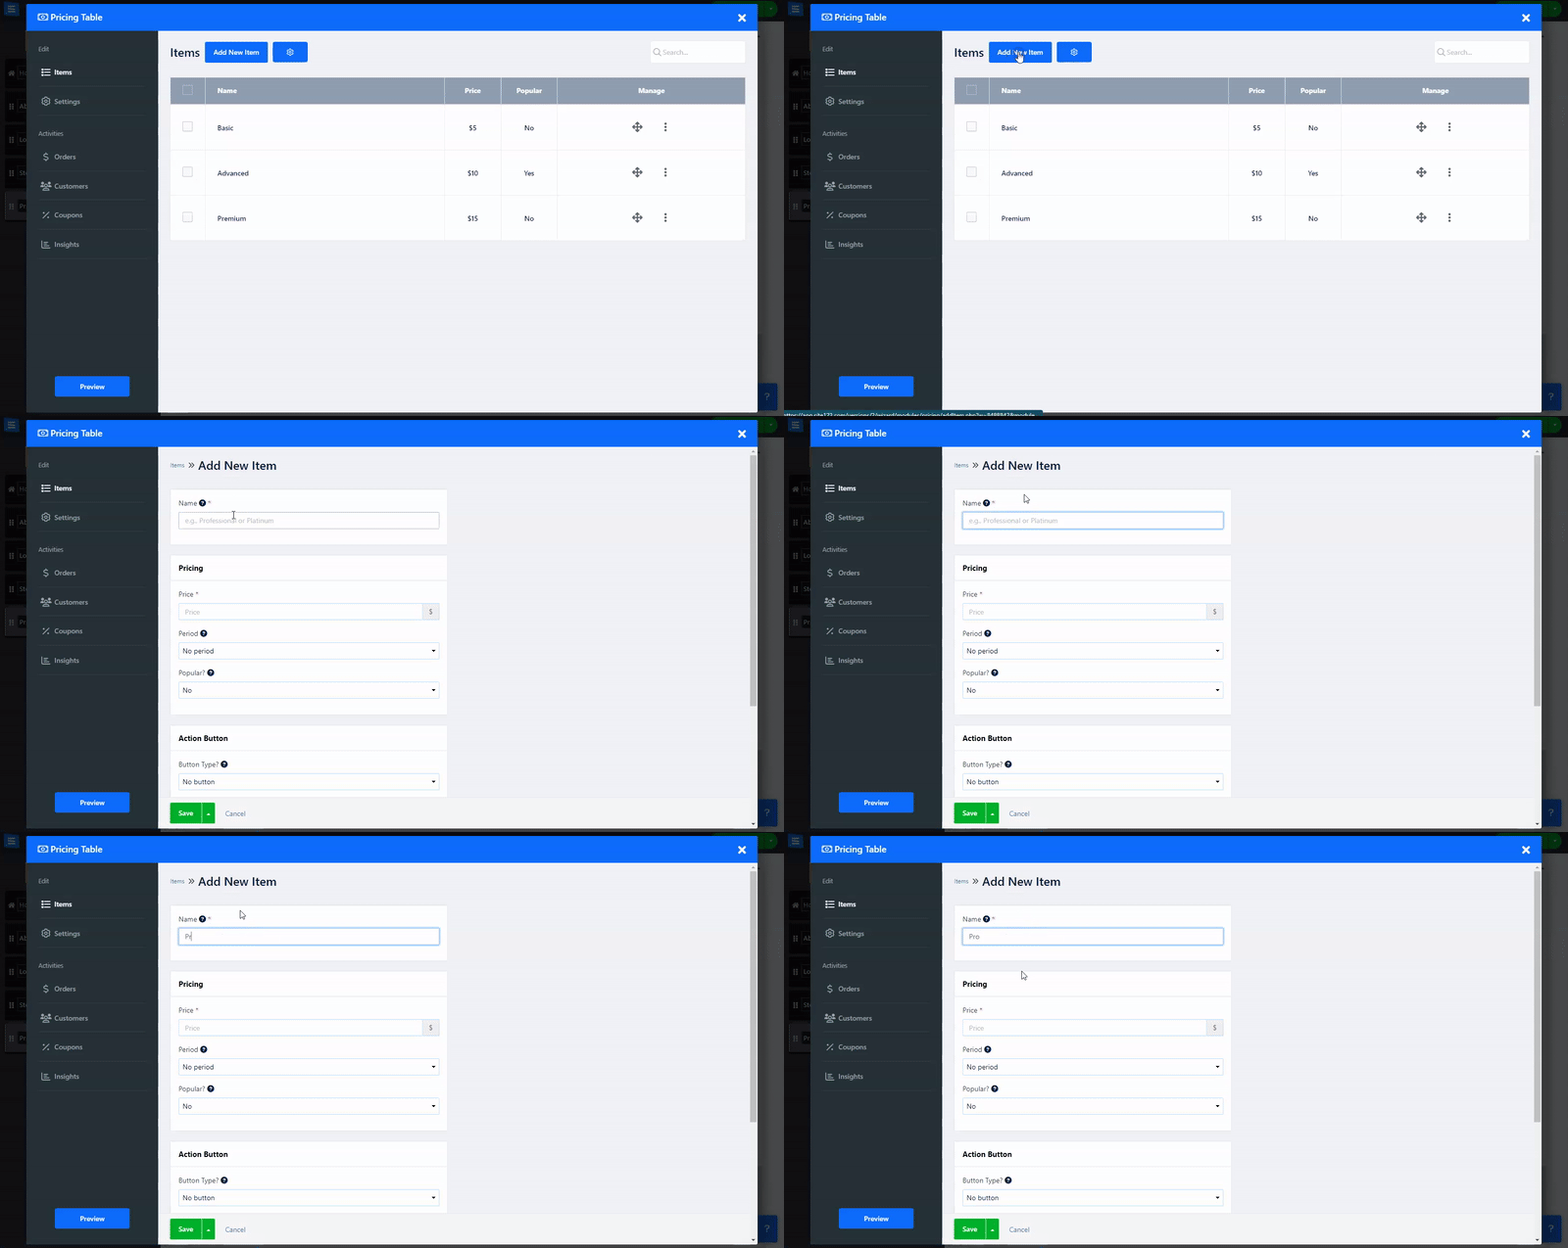
Click the New Item button to add a new pricing table Item to your page.
In the Name field - Add the name of the provided package or service.
Price - Set the amount your customer would need to pay for the package or provided service.
Period - Set the package or service period to choose from Minute, Hour, Week, Month, and Year. You can also choose extended periods of time such as 3 months, 6 months, 2 years, 3 years, 5 years, and 10 years.
Popular - choose if to set the service or package as popular, and by that, draw more attention to the best-selling option.
Add an action button and choose the way you sell your provided service or package:
Internal Order System ( Recommended) - This will set your purchases to use the internal payment options. This is recommended as it allows you to track orders and follow up on payments from within your website.
External Link - choose to redirect your users to an external payment source. This will allow you to use an external preferred service. When choosing this option, a new field will be provided where you can add the external link.
No Button- Choose this option if you do not wish for a payment option to be available
Add a description of the package features, for example, ‘10MB storage'.
Make sure to add each feature in its own line.

Under the settings tab, set your payment, shipment, and taxes, and configure your custom labels.
Inside the Payment Methods tab, set your accepted currency and payment methods. Read about setting Currency and Payment Methods.
Inside the Shipping and Tax tab, set shipping methods and tax. Read about setting up Shipping and Tax.
Inside the Configuration tab, Set custom Labels and customize your order form.
You can change the writing on your payment button and customize the order form with our custom form builder - read more about the Custom Form Builder.
Under this tab, you will be able to create special coupons for your customers to use. You can add coupons that are for specific customers or publish them on the website, for example, by using our Pop Up tool. Read more about creating coupons and about our Pop-Up Tool.