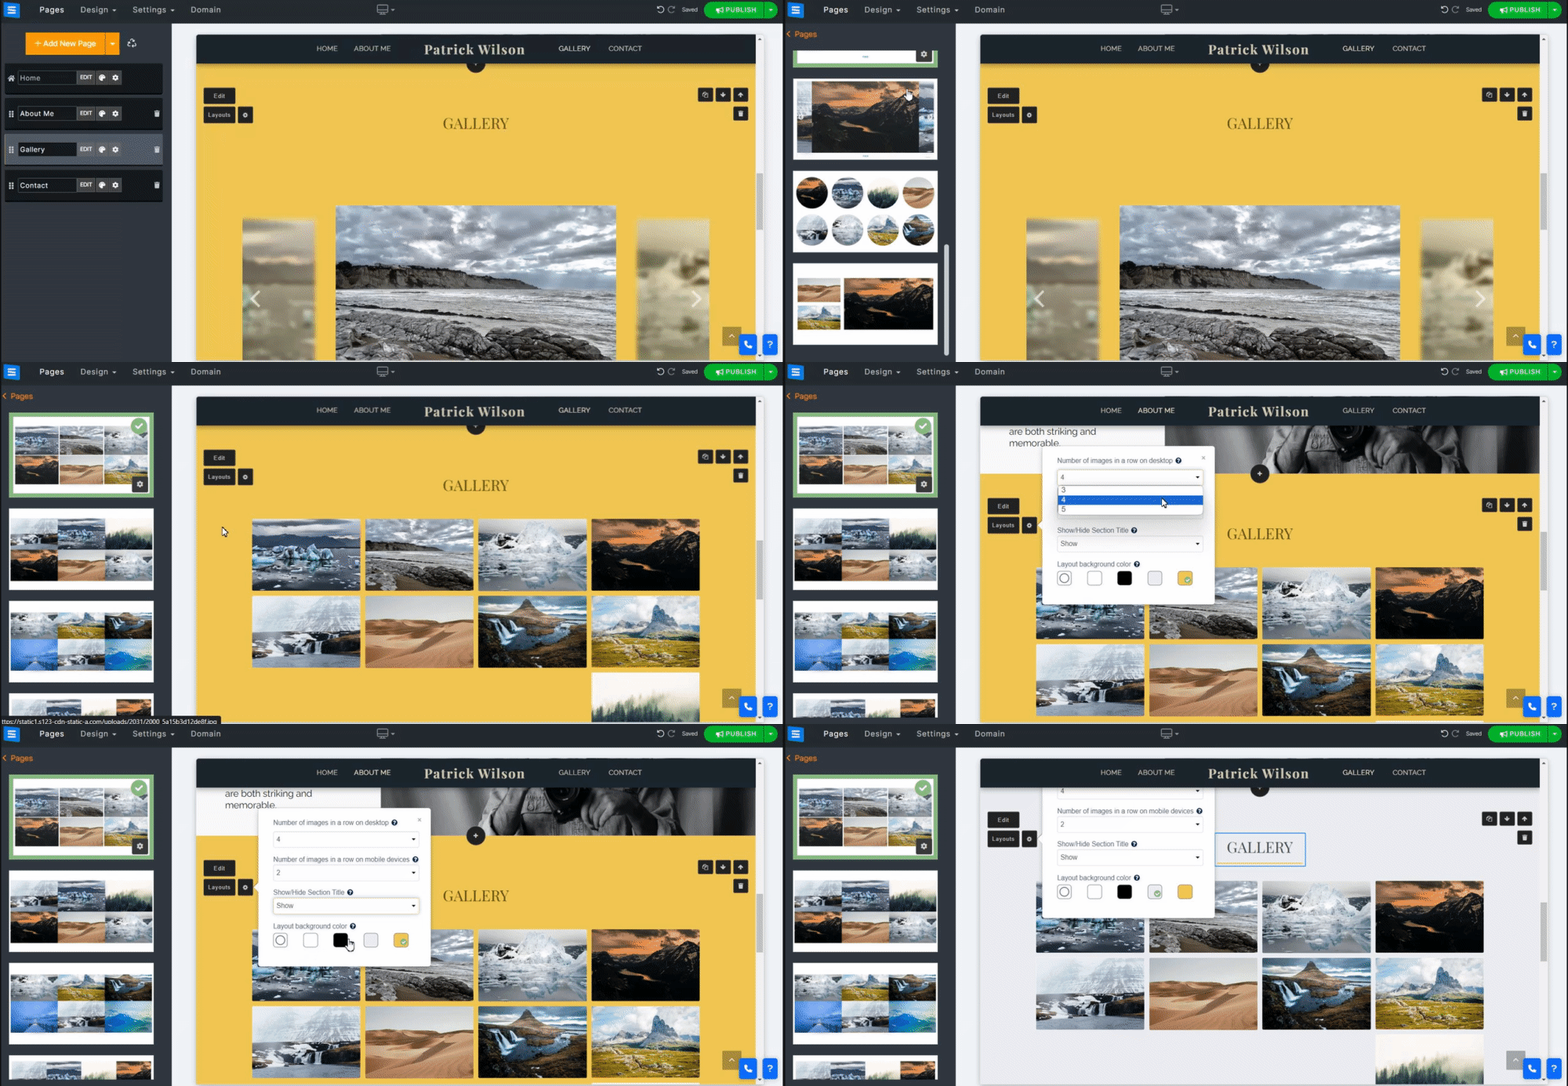
Add different media types, like images and videos, to your website.
In this guide, you will learn how to add and categorize media in your gallery, share your media over social media, prevent or enable downloads, and more.
In the Website Editor, click Pages.
Find the Gallery page in the current page list or Add It as a New Page.
Edit the page Title and Slogan. Read more about Adding a Slogan.
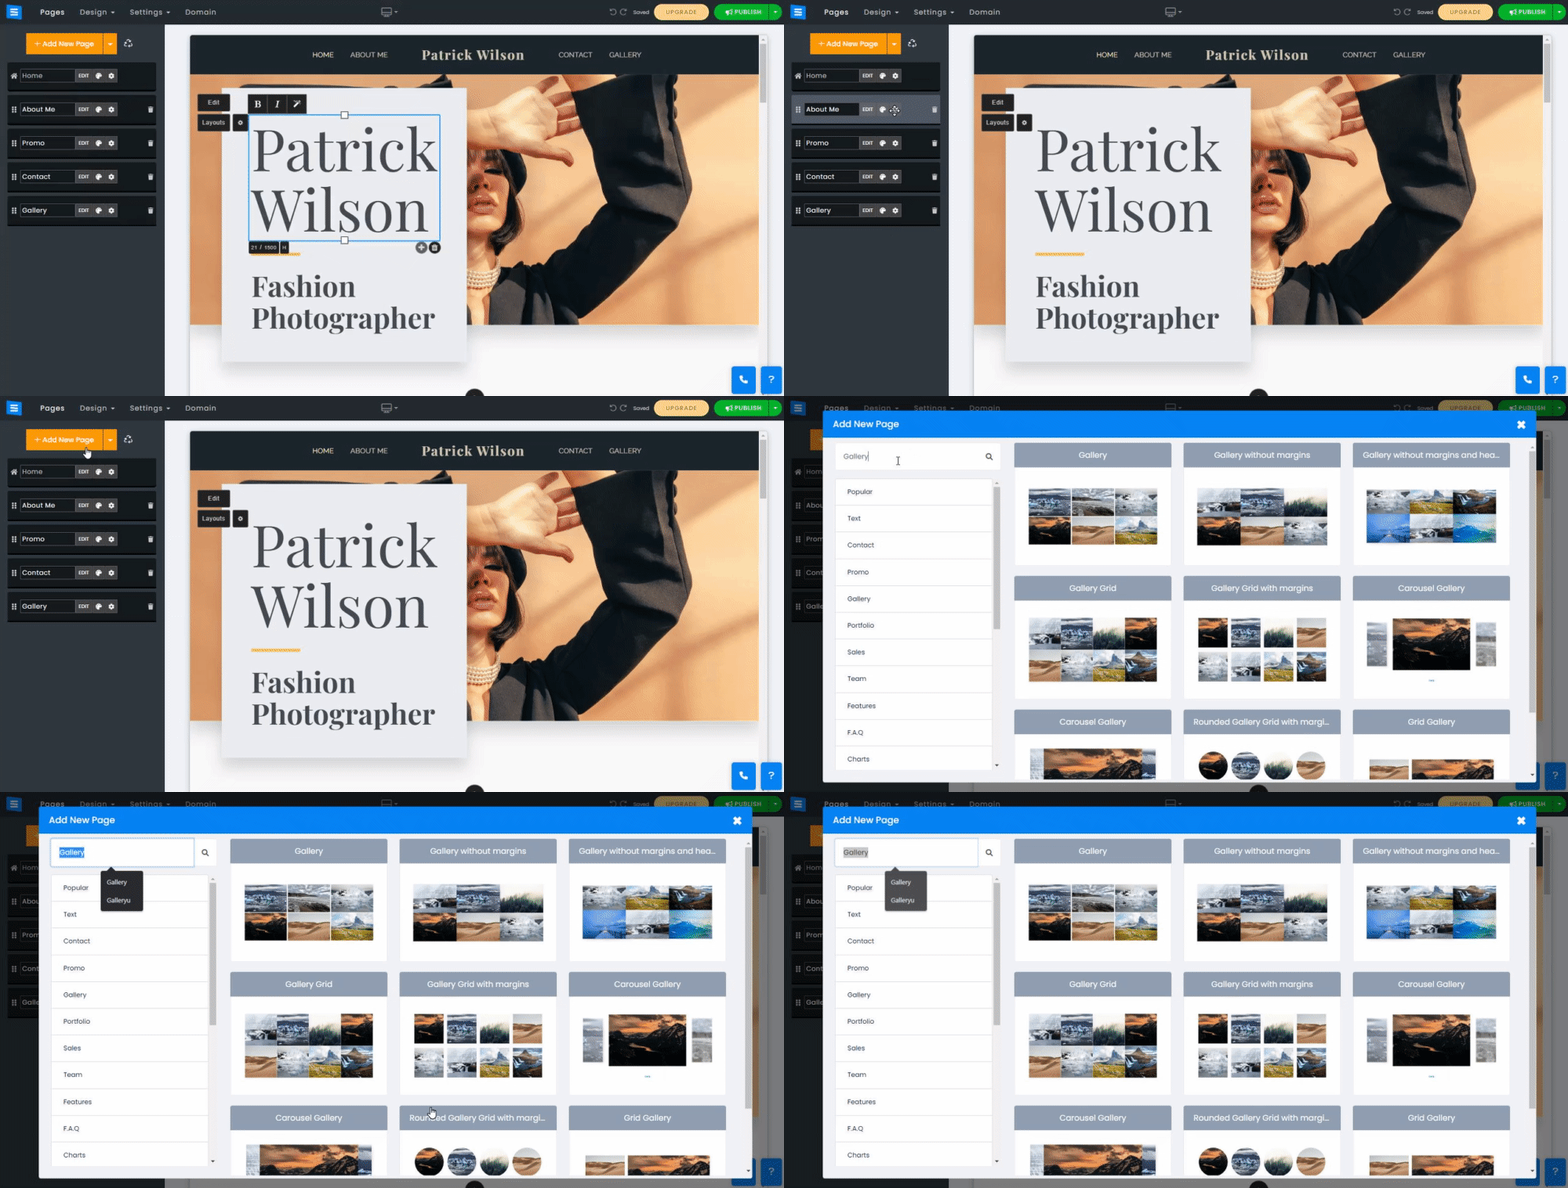
Add, remove, and edit the images on your Gallery pages
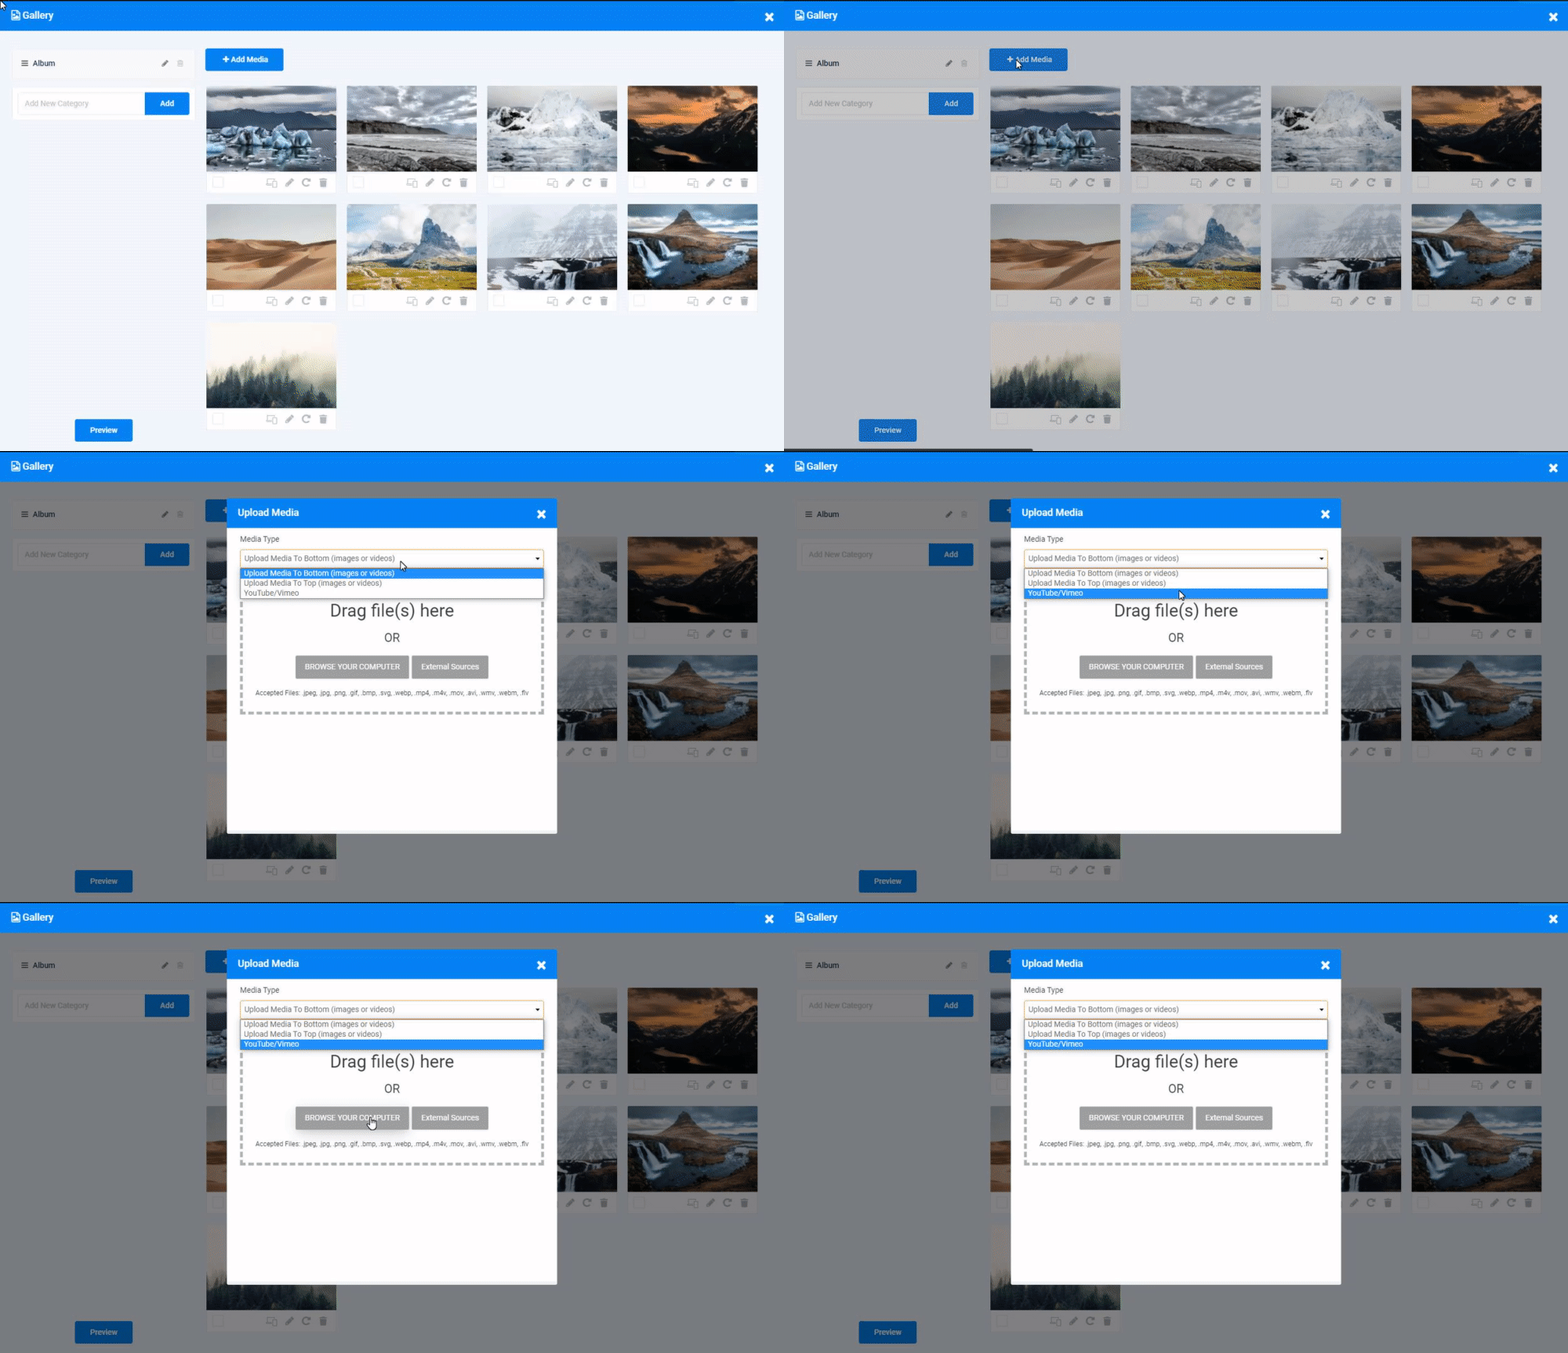
When a gallery is first added, it is shown with placeholder images and a category called Album. You can delete and replace these placeholders and add your own images, as well as delete and edit the default category. Click the Edit button, Click the Add Media button, and select the Media Type you wish to upload. Select the desired option from the drop-down menu:
Upload Media to the bottom - will add new media to the bottom of the category.
Upload media to the top - will add media to the top of the gallery.
Youtube/Vimeo - allows you to add a link to a video file by adding the media link generated by these platforms.
When uploading media, you can either drag and drop the media to the designated area in the window, or you can choose one of these options:
Browse your computer- This option will allow you to browse your computer folders to add the desired media directly from your desktop or device.
Facebook and more - Will allow you to add media from external sources such as Facebook, Instagram, Google Photos, Dropbox, and more.
Drag an image to change its position in the Album.
Click the pencil icon on the image or video to add a Title, Description, External Link, and Custom Thumbnail for a video.
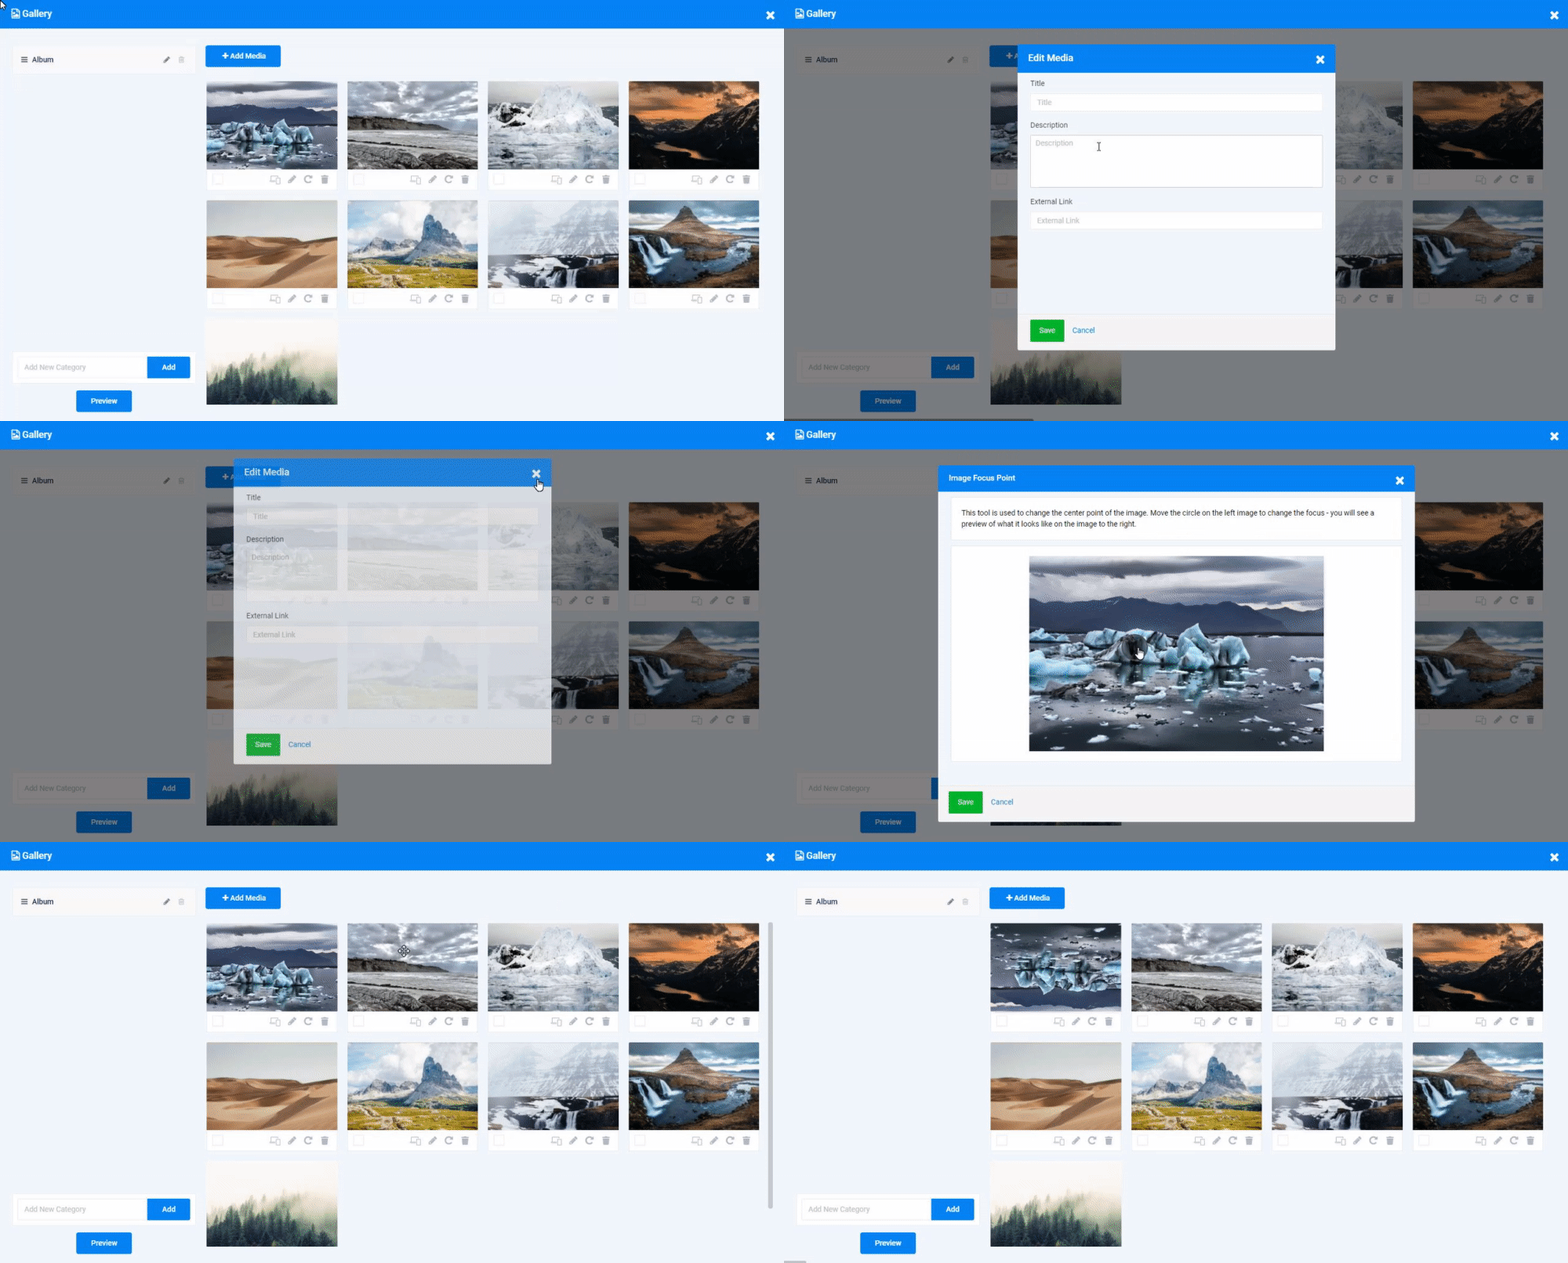
Click the Edit icon to open the Imag Editor Tool. Click the other icons on the image to set the Image Focus Point, Rotate, and Delete it.
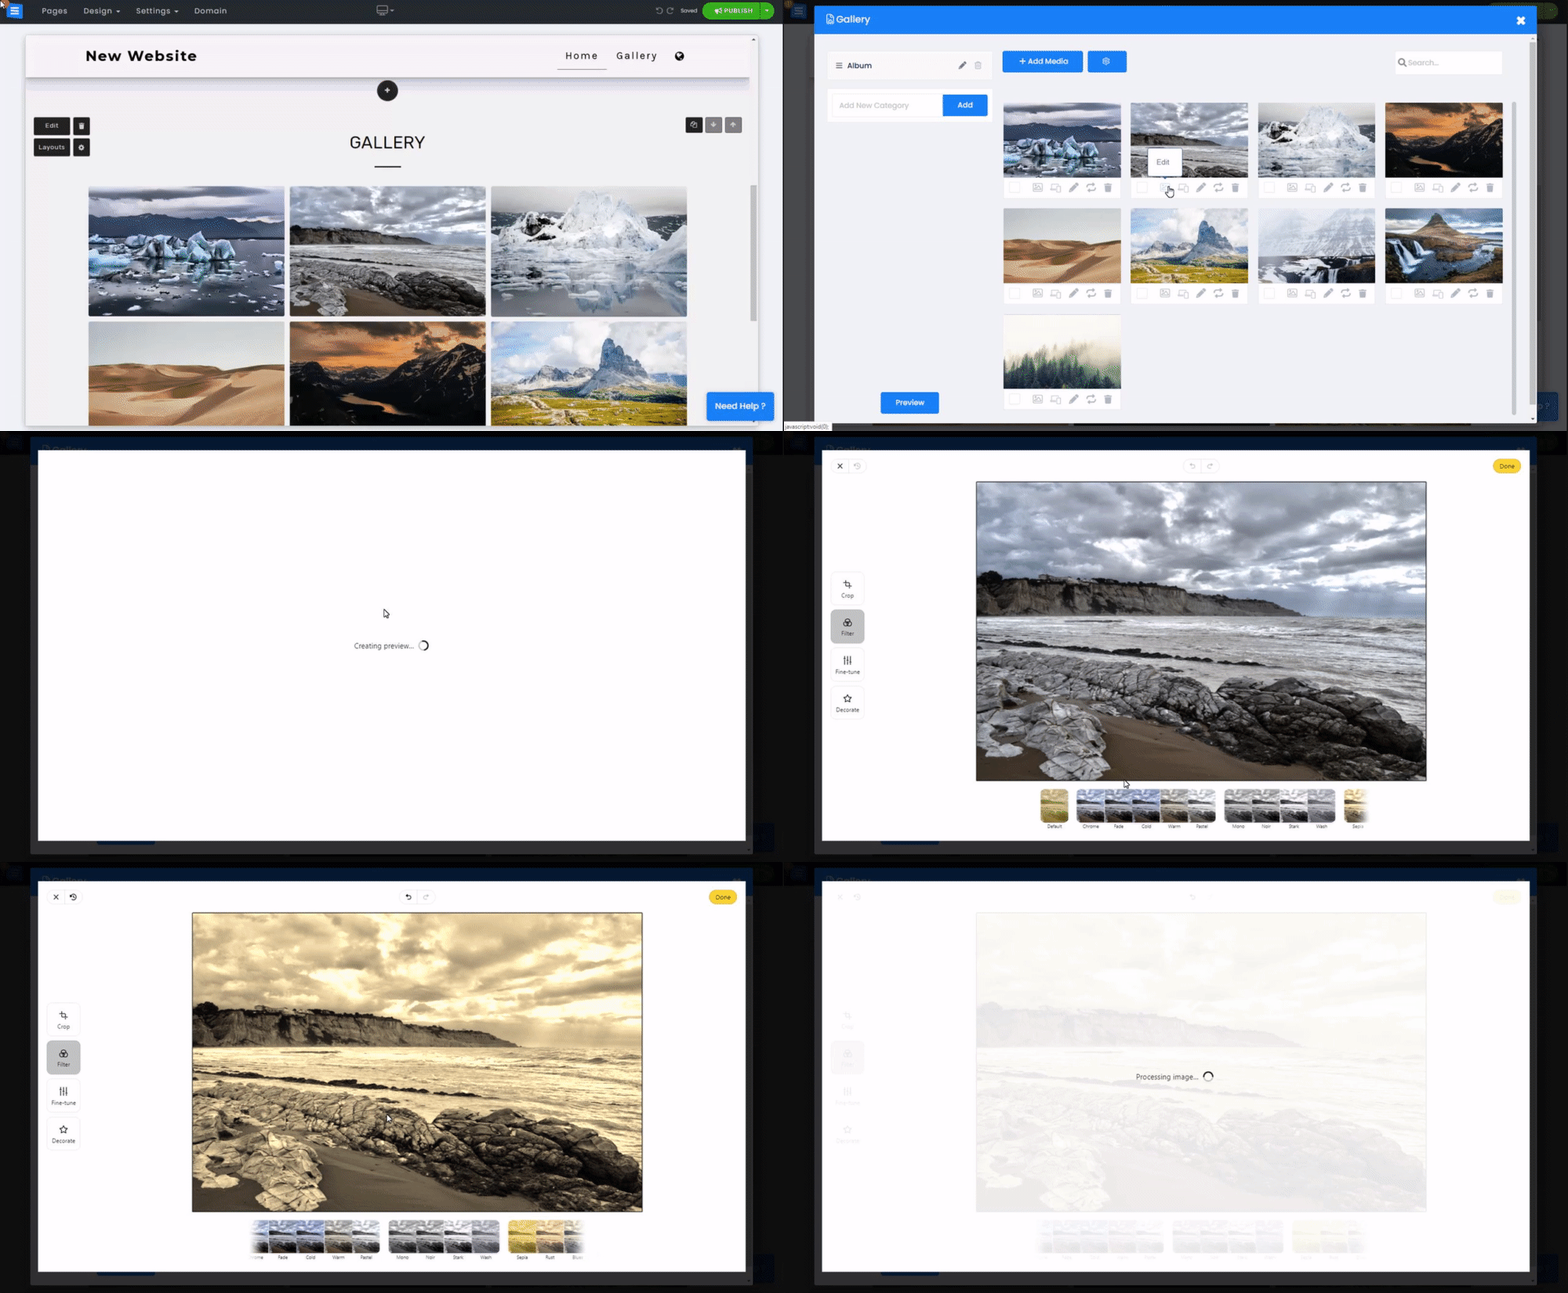
Use the search bar to search for images in your gallery by Title or Description.
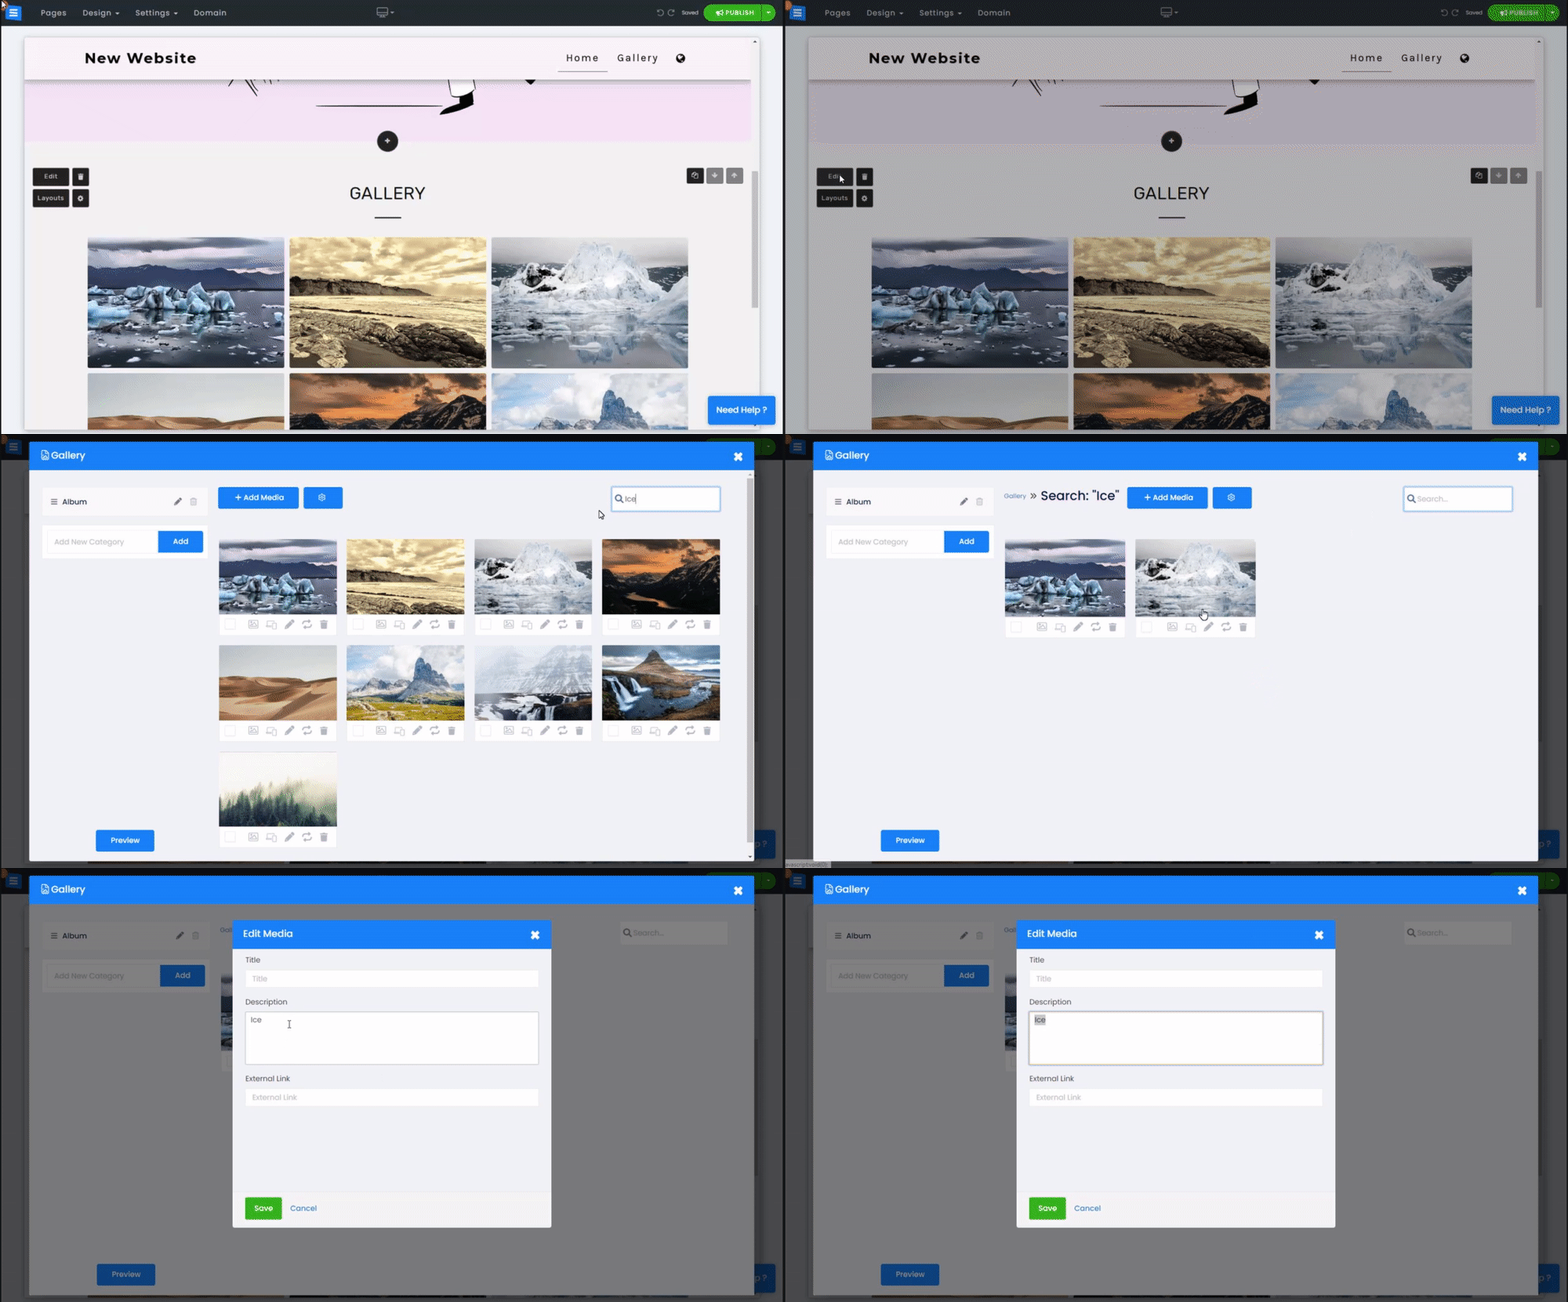
Categorize photos into different albums: enter a new category name in the text field and click Add. The new category will appear underneath the current existing categories,
Add new media to the newly created album or drag an image from an existing album and drop it in the new one. This will assign the image to the selected category.
Click the Pencil Icon next to the category name to edit it.
Click the Trashcan Icon to delete an existing category.
👉 Note: the gallery page must have at least one Category (Album) - when you have only one category, it cannot be deleted.
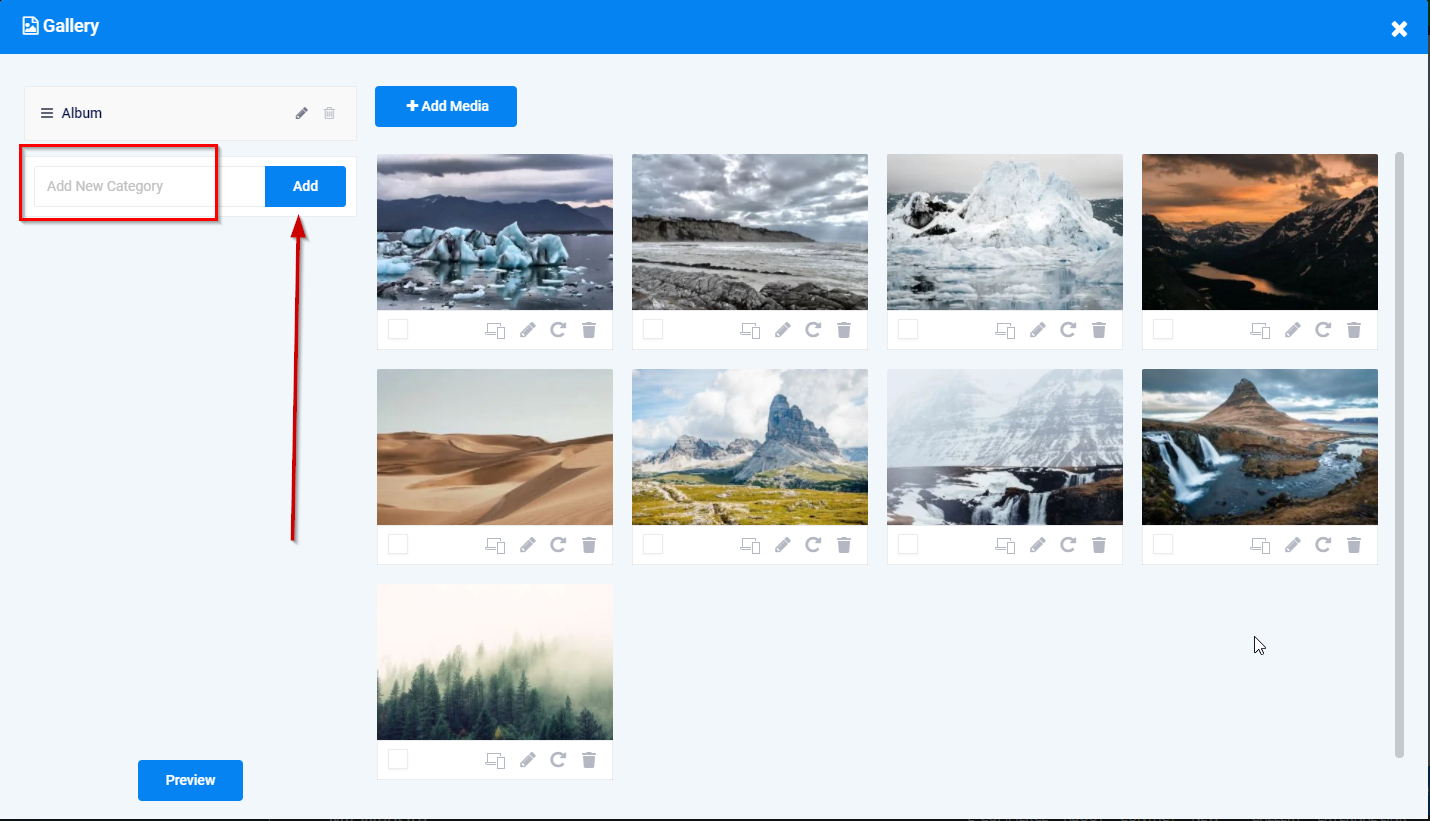
Use social media icons to share your images on Facebook, Twitter, Tumbler, and Pinterest, as well as Email and WhatsApp.
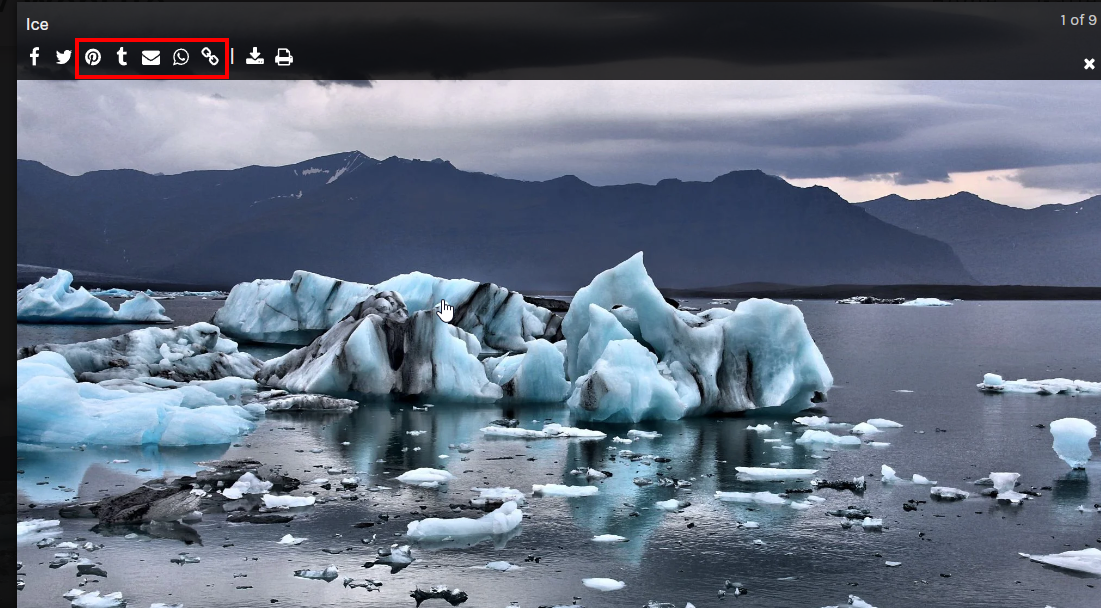
Copy and share the image link by clicking the Link Icon.
👉 Note: Social icons and sharing options are unavailable when using the Carousel layout.
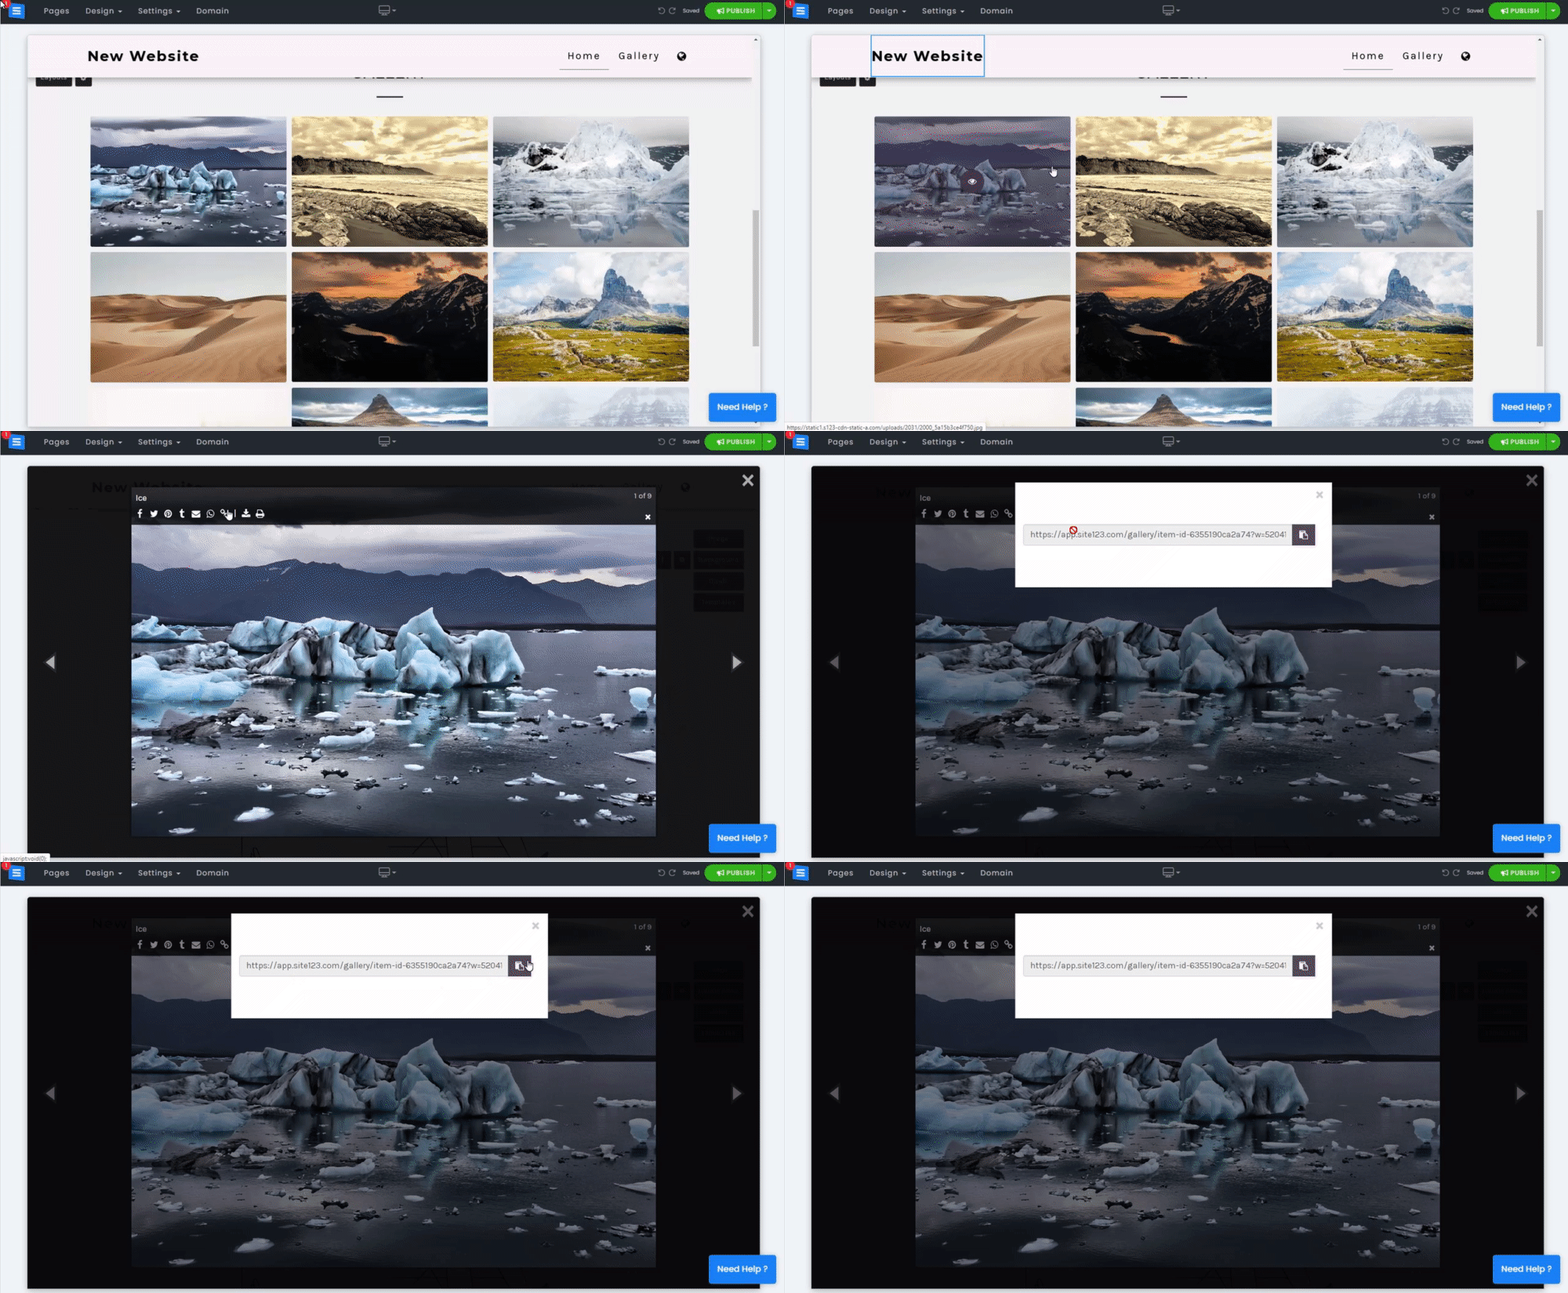
Choose where to display the image information bar, allow website visitors to download/print your images, or prevent images from being downloaded.
Note that these features are available only for premium packages.
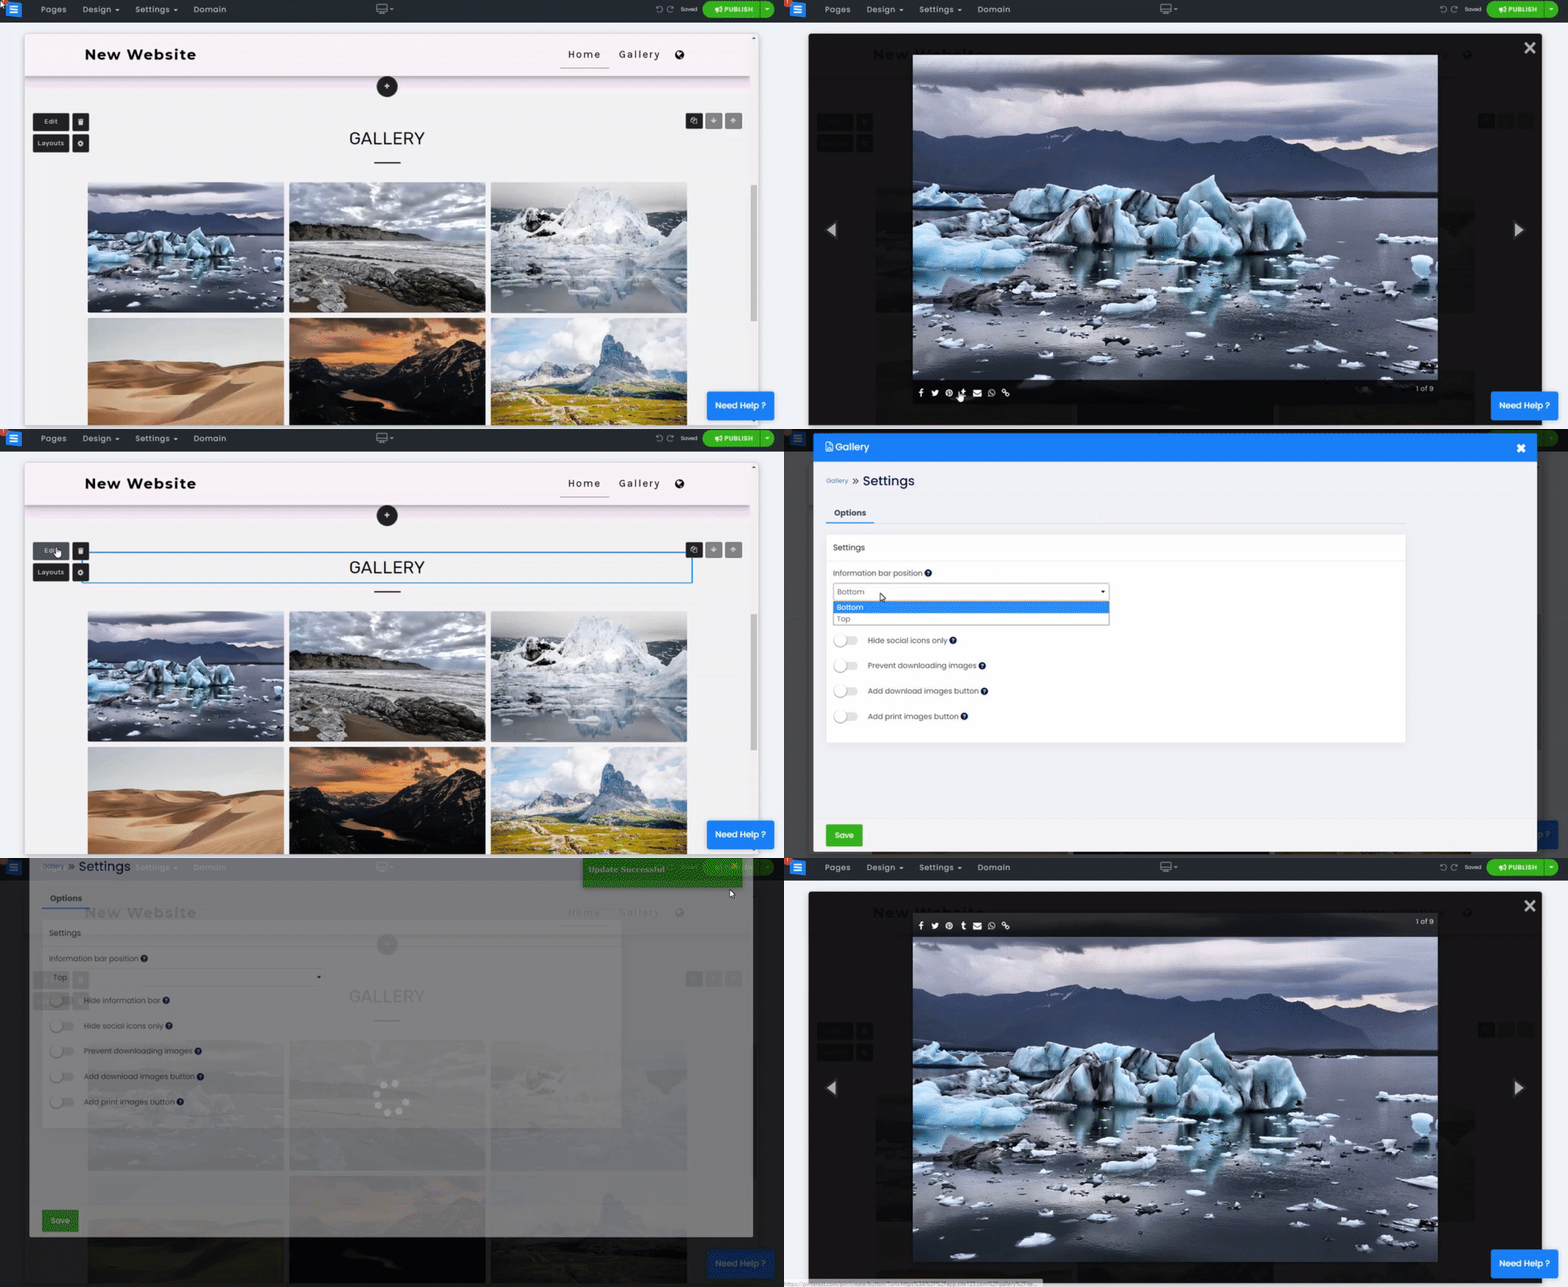
Change the location of the Information bar. In the Gallery Editor, Click the Gear Icon
Under the Information bar position, choose the desired position from the drop-down menu.
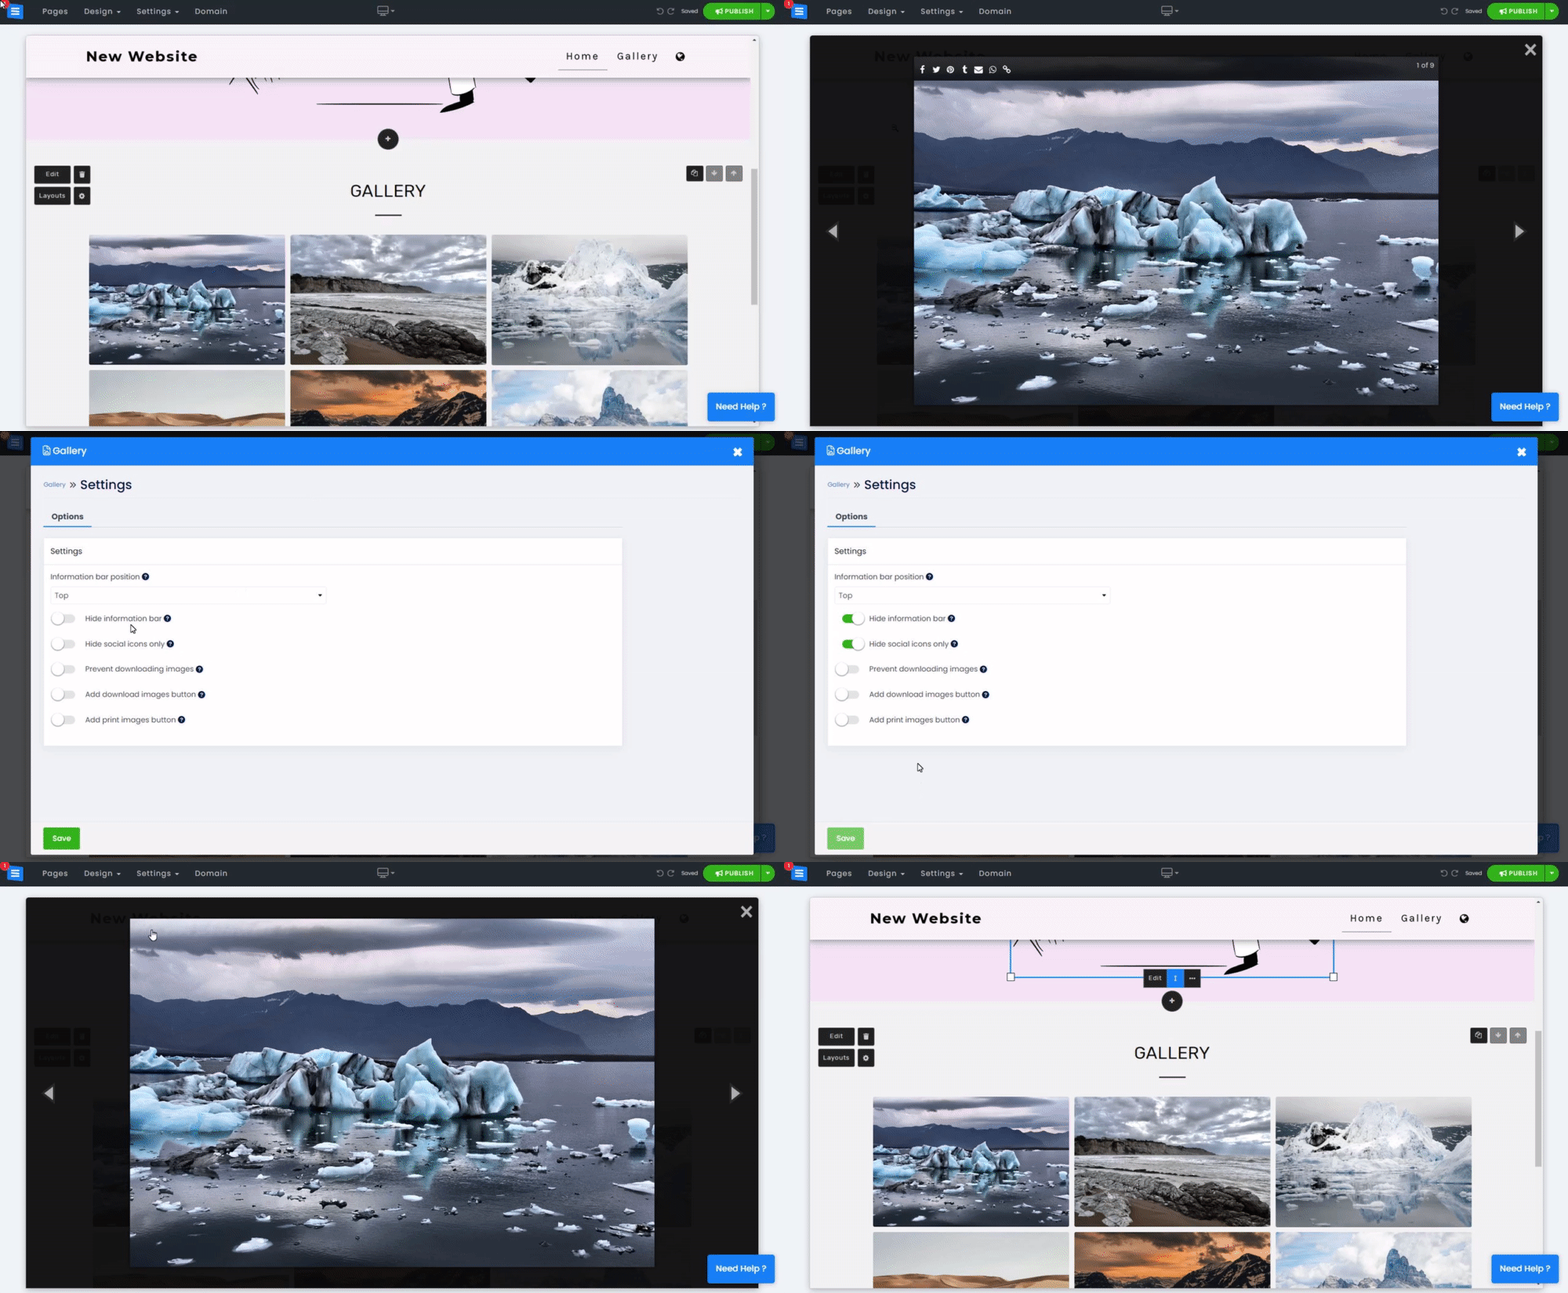
You can hide either the entire information bar or you can choose to hide Social media Icons only. In the Gallery Editor, Click the Gear Icon and edit the following:
To hide the entire Information bar, Toggle on Hide Information Bar
To hide only the social media icons, Toggle Hide Social Icons Only
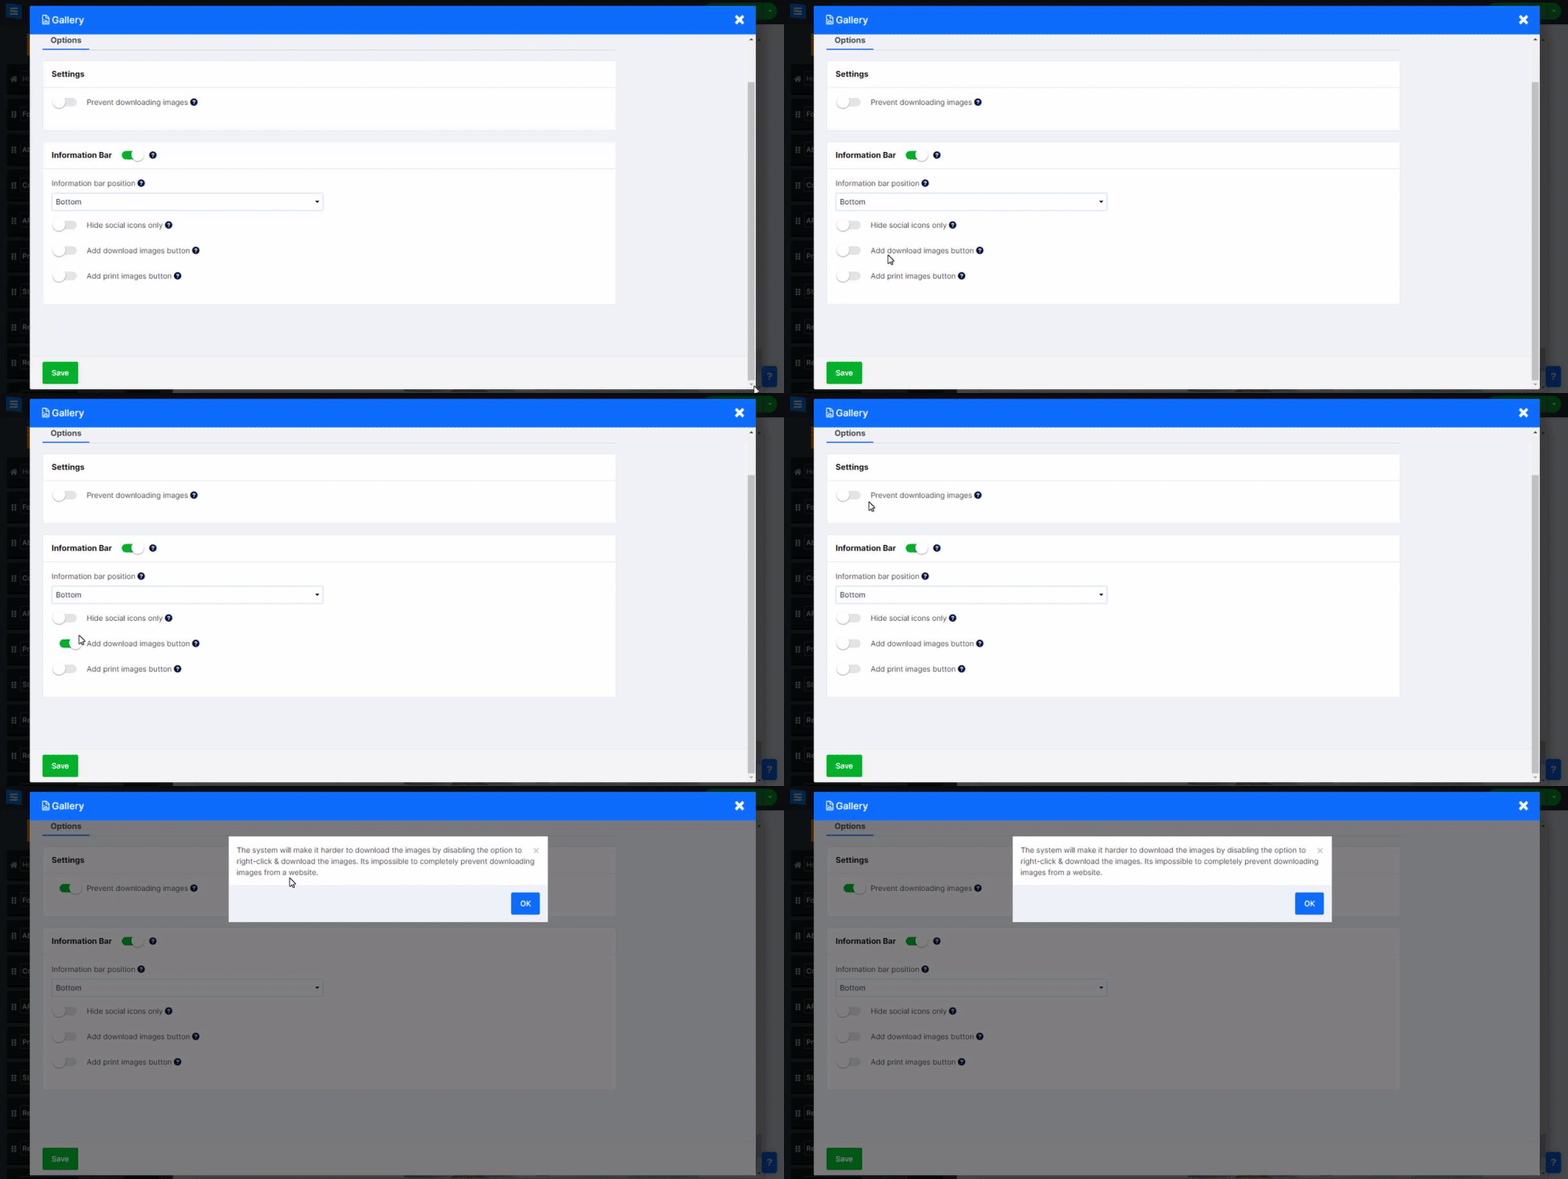
Add dedicated print/download buttons, or prevent the option of downloading images from your gallery. In the Gallery Editor, Click the Gear Icon and edit the following:
Add download image and print image button.
Prevent Image Downloading.
👉 Note: The system will make it harder to download the images by preventing right-clicking & downloading the images. It is impossible to prevent downloading images from websites completely. - This message will also appear when toggling this option ON.
Click the gear icon on the page for more settings relating to the selected Layout.
E.g., Number of images in a row on desktop and mobile devices, Display Type, Hide Page Title. Note that these options will differ according to the selected layout. Read more about the Page Layout.
Under the page gear icon, set a background color for your page by choosing one of the available colors.
This will allow you to customize your Gallery Page further and make it stand out.
