Let your visitors know who are the people behind the website, and introduce employees, partners, or people related to your business.
In this guide, you will learn how to add and edit Team Members, add Team Members' contact information, generate team members and their descriptions using the "AI" tool, and more.
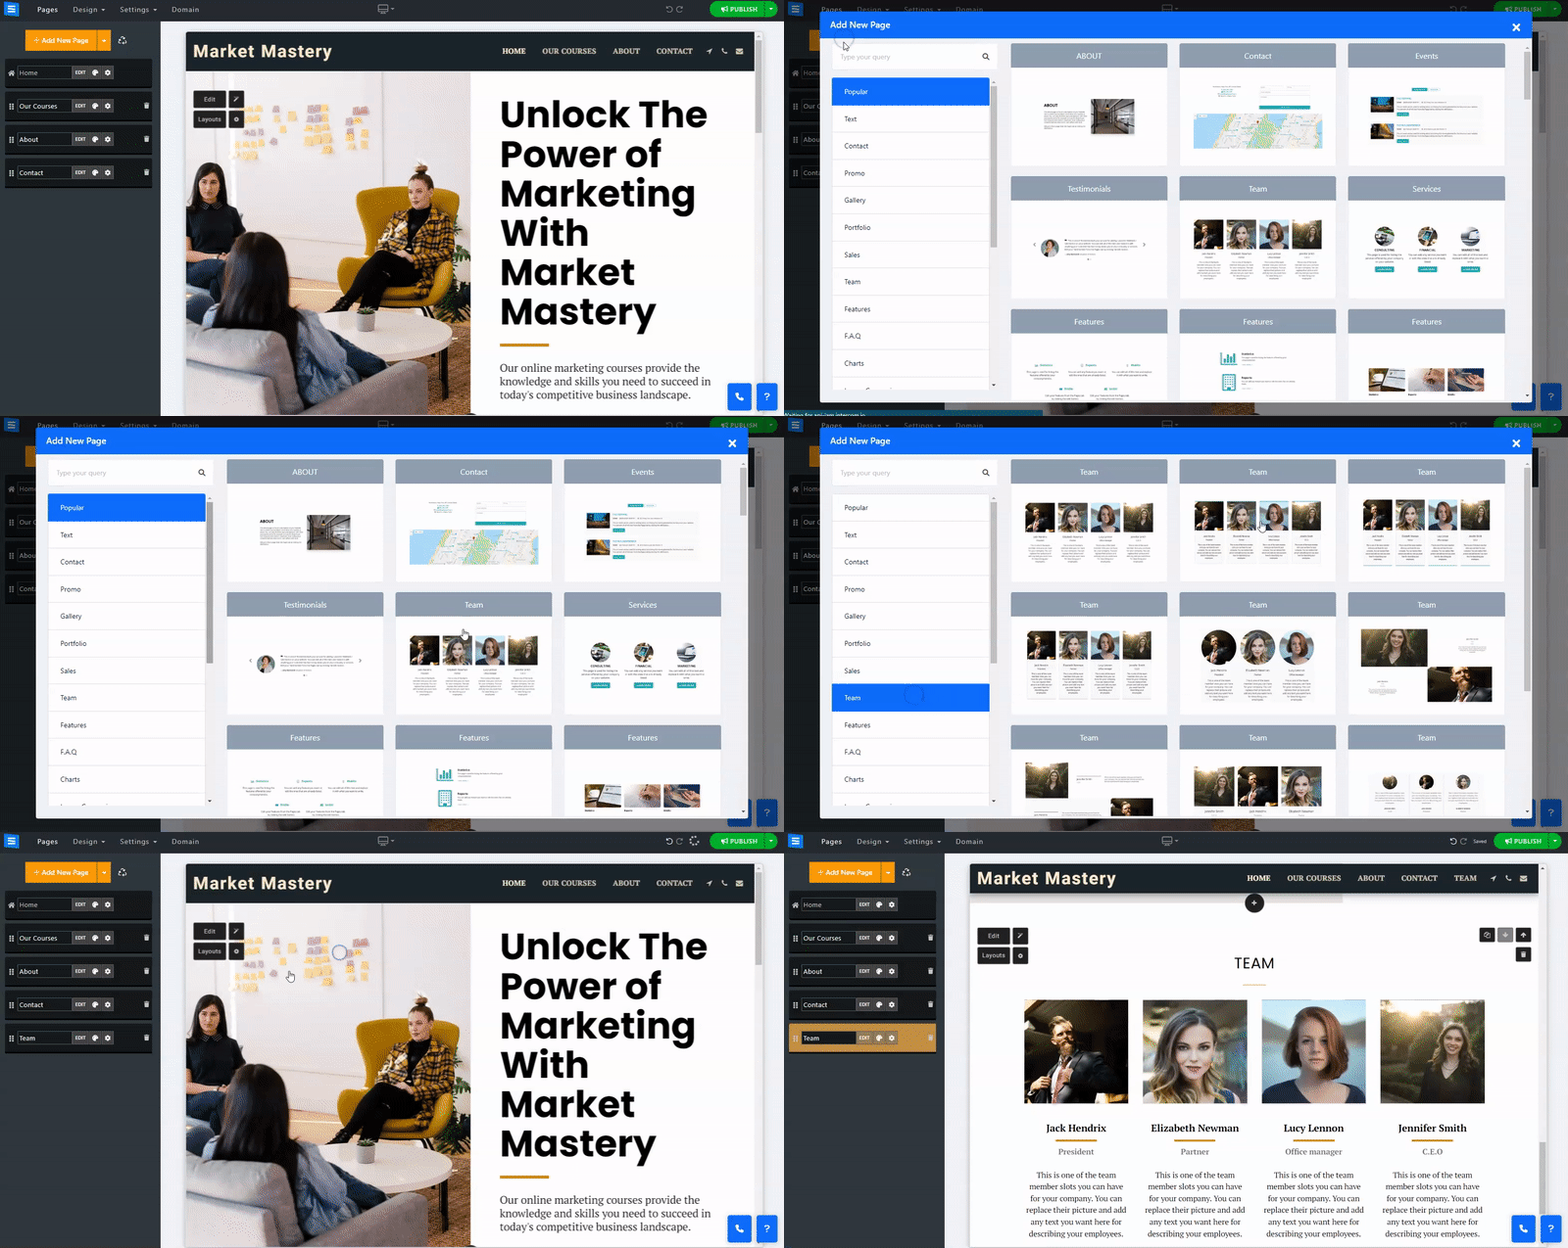
In the Website Editor, click Pages.
Find the Team Page in the current page list, or Add it as a New Page.
Edit the page Title and Slogan. Read more about Adding a Slogan.

In this section, you will learn how to Add, remove, and manage the items on your Team pages.
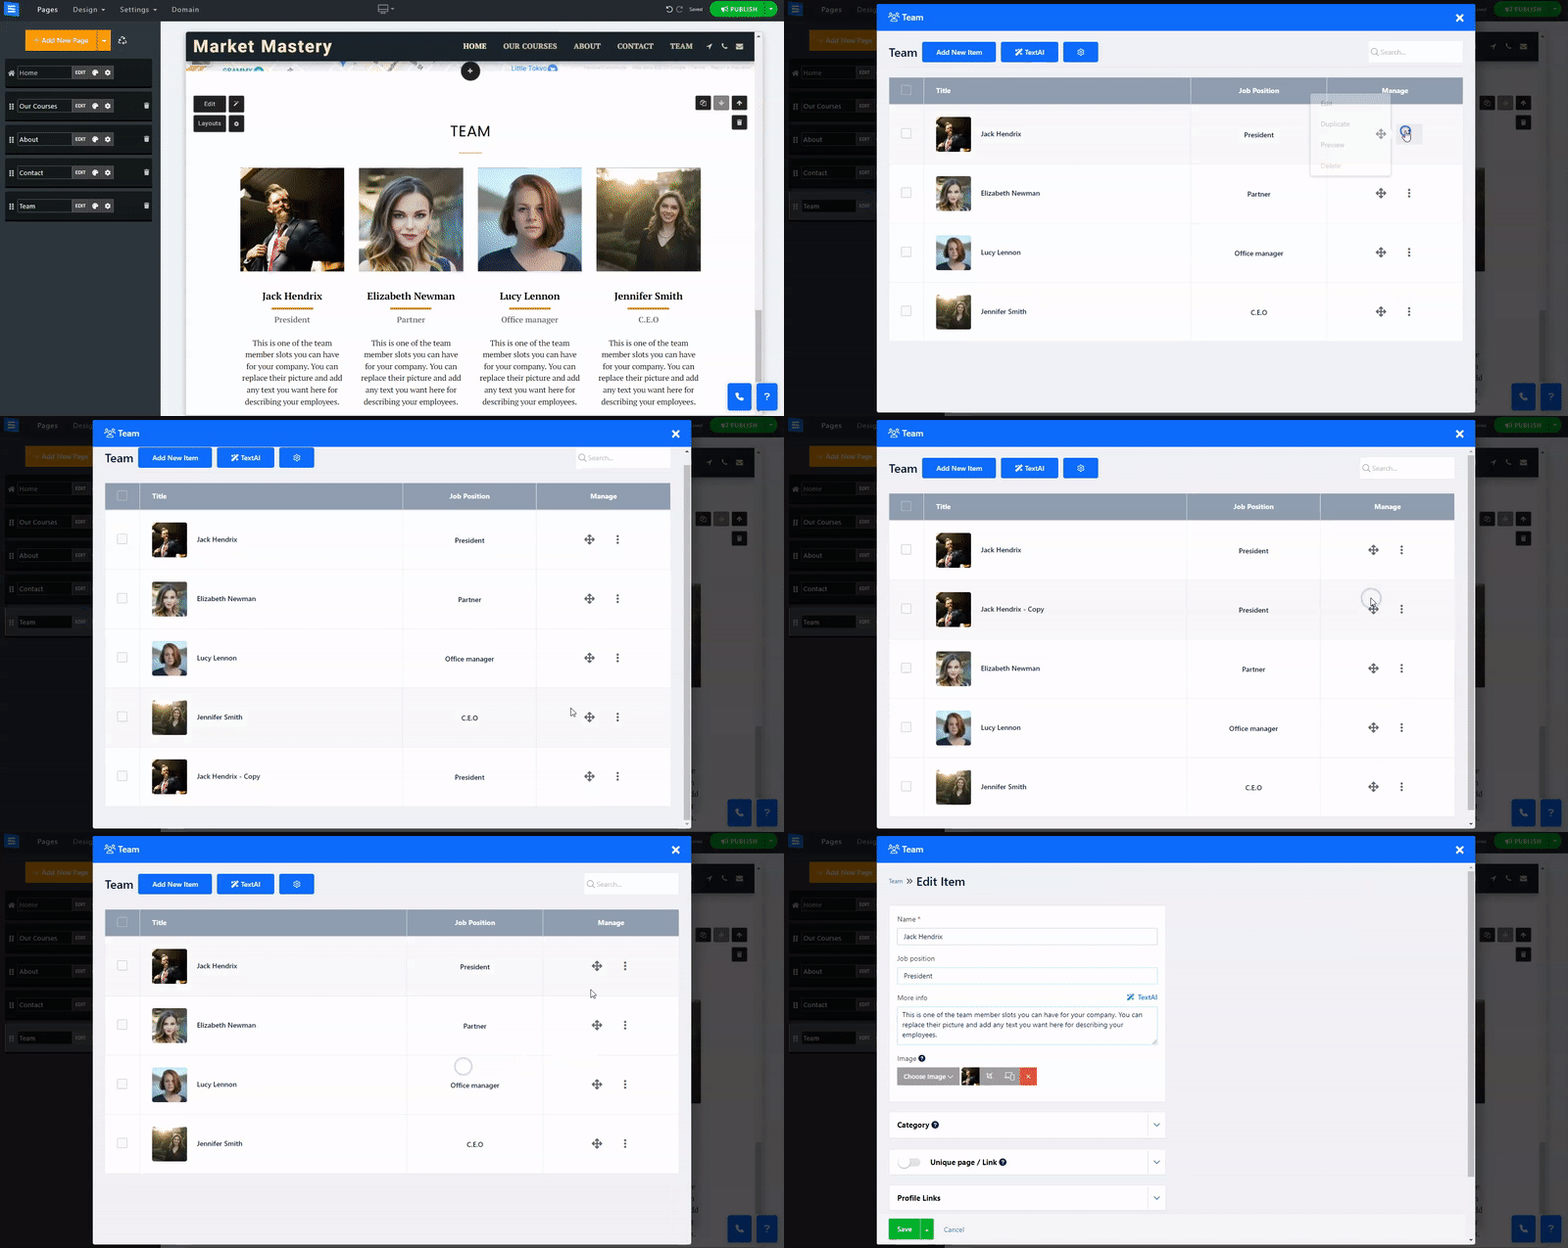
Click the Edit button.
Click the Arrows icon and drag to reposition an item in the list.
Click the Three dots icon to Edit, Duplicate, Preview, or Delete an item.

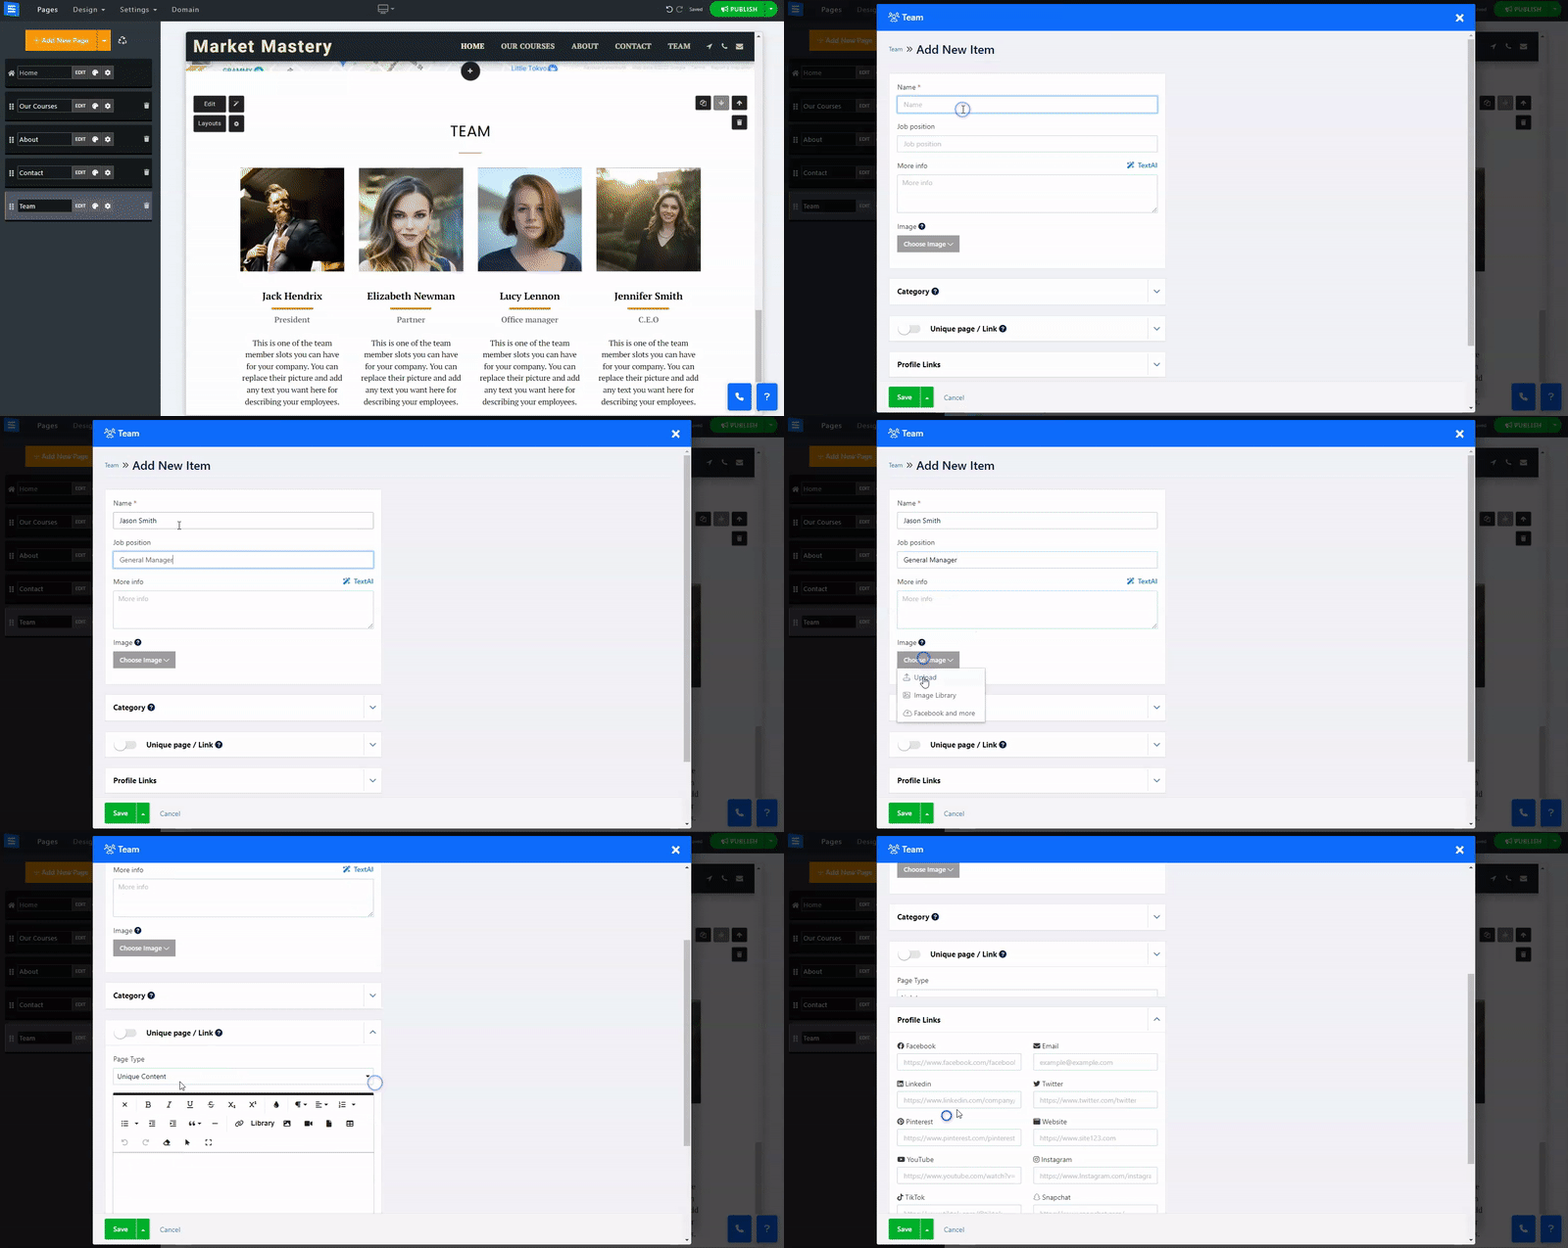
Click the Add New Item button to add a new member to the team and enter the relevant details:
Name - Add the name of the team member.
Job position - Add the job position of the team member, for example, Sales Specialist.
More info - Add a short description of the team member.
Choose Image - Add an image of the team member (size limit 50MB).
Category- Add a new category to the page. Click the Plus icon to add a category or choose an existing category. The category will appear beneath the page title.
Profile link - Add the team member’s contact information, such as social media links like Facebook, Linkedin, and Twitter, as well as the team member's phone number, WhatsApp, and more.
Unique page / Link - Add a long description for your team member, use the text editor to stylize the text, and add links, images, and more. This will prompt a clickable Read More label under the Team member picture that, when clicked, will open the long description on a new page. Read more about the Text Editor.
Custom SEO -Add custom SEO settings for each item in the team members list. Read more about editing your SEO settings.

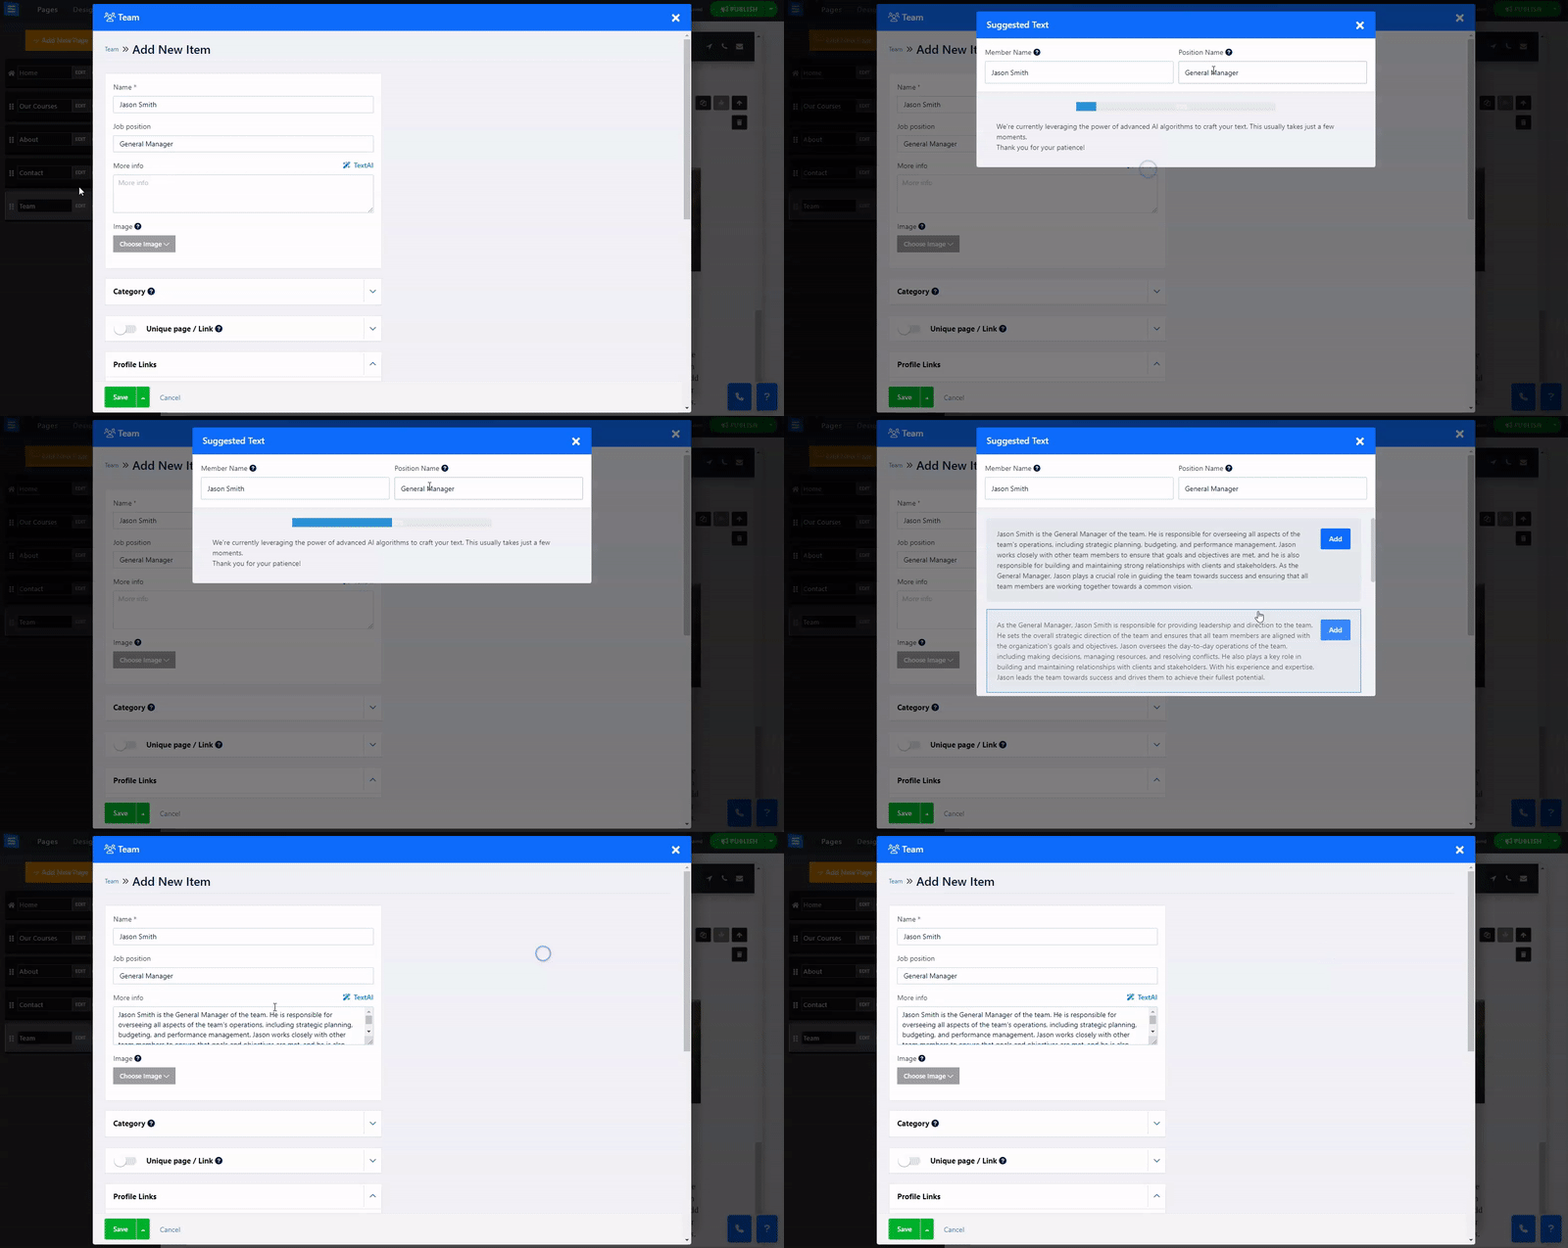
Utilize our "AI" tool to promptly add Team members to your Team Page.
The "AI" tool will generate team members based on the provided information.
On your Team Page, click the Magic Wand icon and Provide the "AI" tool with the following information:
Website Name - Add the name of your website.
Category- Add your business category, for example, Architecture Studio. This will allow the Tool to generate Team members with job-oriented titles and descriptions according to the selected category.
About the website - Add a short description of your website or business - This will allow the tool to generate text using the baseline characteristics of your website.
Focus - Add a sentence or a word to focus the tool further. The tool will generate content related only to a specific topic.
The "AI" tool will then create team members with position titles and a description of the position role in the company based on the provided information.
Choose the relevant positions, add them to your page, and edit them to fit your Team members. This will allow you to quickly add team members to your website.
From within the page editor, Use the TextAI tool to add custom AI-generated Team members to your Team list. This will allow you to add more members quickly and effortlessly.

Click the Layouts button to change the page layout. Read more about the Page Layout.
Use the gear icon to gain access to different page settings, note that the page settings will vary according to the selected Layout
Settings tab:
Background Tab:
Customize your Team page with a background color image or video
Type - Chose between a background color, an image or a video to be displayed as your FAQ page background :
Text Color - use this setting in all options to set the color for your Team Page text.